Campsites
Book months in advance.
Patagonia’s most iconic trek, finishing with yet another sunrise hike.
The W Trek in Torres del Paine is one of Patagonia’s most iconic hikes, offering breathtaking landscapes every day, from towering granite peaks to ice-blue glacial lakes. While some hikers opt for guided tours, doing the W Trek without a guide is entirely possible and can save you a lot of money, which you can put towards other parts of your trip.
The guide below gives you all the information you need to do the W Trek without a guide, including everything you need to book before stepping onto the trail, what to expect during the trek itself and how to use Puerto Natales as your base before and after the hike.
Some links in this guide are affiliate links. I may earn a small commission if you book through them, at no extra cost to you. I only link to places and services I would recommend. Affiliate Disclosure.
There are four things you need to book before starting the W Trek, and some sell out much earlier than others. Use the cards below to see when to book each one, where to book it and roughly what it will cost.
Book months in advance.
Book a few days in advance.
Book a few weeks in advance.
Book at least 24 hours before.
If you don’t want to carry all of your camping gear with you to Patagonia, there are several reputable rental shops in Puerto Natales where you can pick everything up before starting the W Trek.
Rental Natales
Book onlineDay Zero
InstagramRental Equipment Teresa
Walk-inAll three shops rent
You can buy meals, snacks and drinks at the campsites along the W Trek, but prices are considerably higher than in Puerto Natales. If you are planning to cook your own meals, I recommend buying most of your food before entering the park.
Freeze-dried meals
Groceries, snacks & fresh food
On the first day of the W Trek, you’ll need to get to Terminal Rodoviario around 7am to catch the bus from Puerto Natales to Pudeto. While there are later departures, I recommend catching the earliest bus, as you’ll then need to take a boat to reach your first campsite, Paine Grande. While you can buy the bus ticket on the day, I would book it a few days in advance, either online or at the terminal, for peace of mind.
When booking your bus ticket, I would also buy your return ticket at the same time. You’ll need a ticket from Laguna Amarga to Puerto Natales for a mid-to-late afternoon departure, however many days later you finish the W Trek.
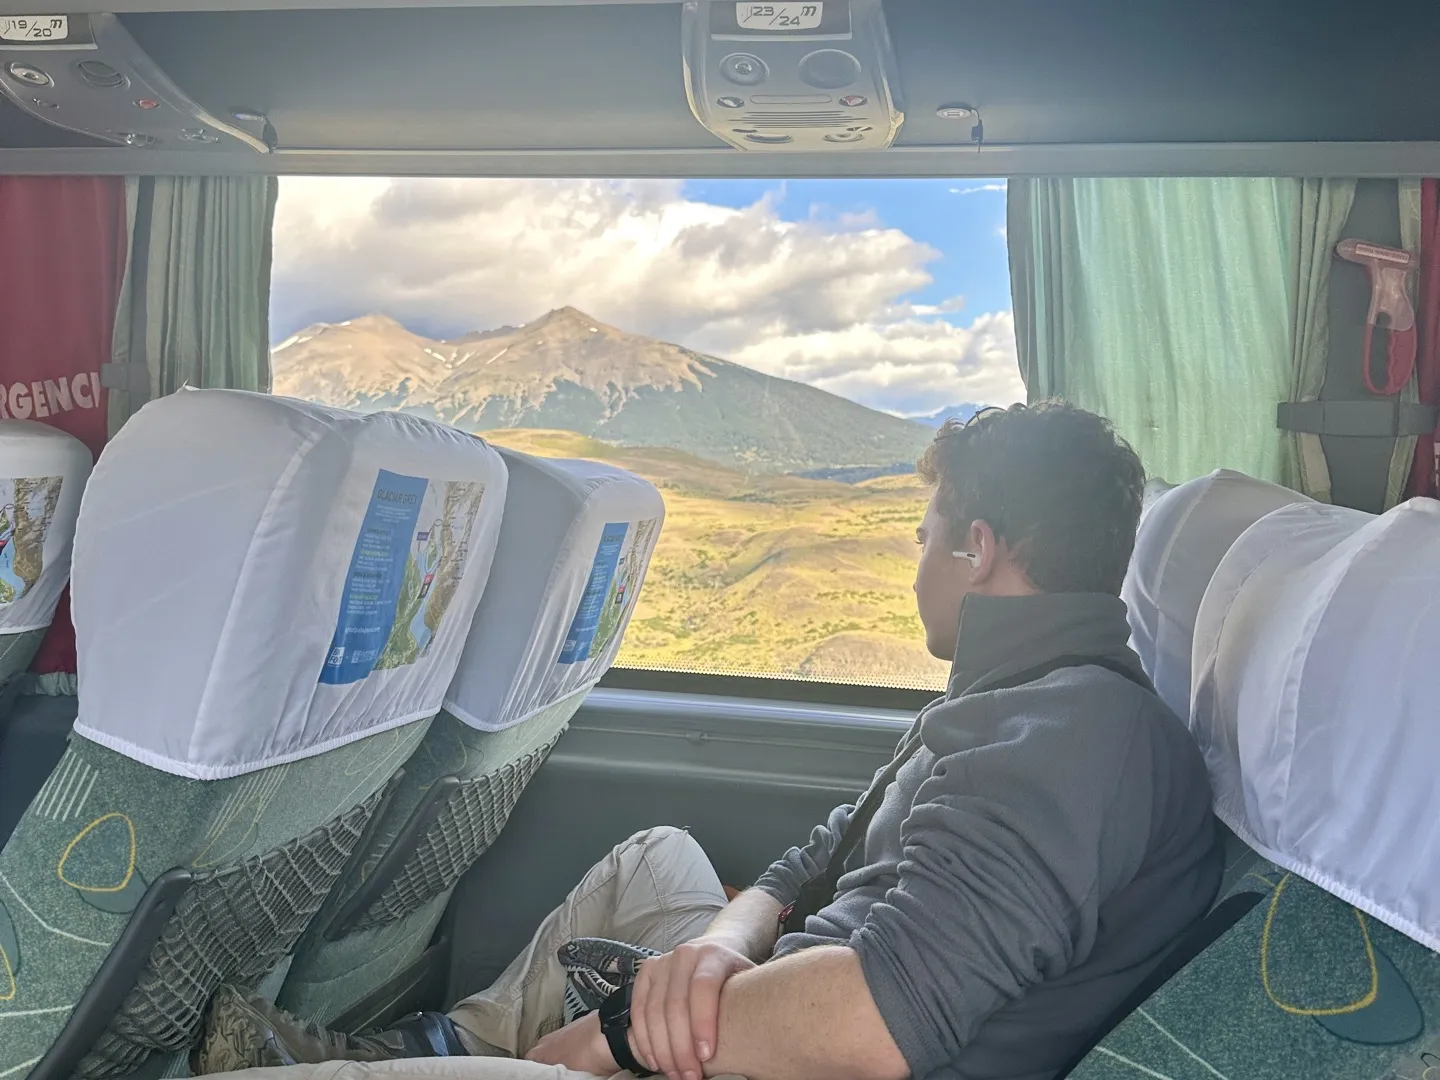
At some point during the bus journey, you’ll stop at the entrance to the national park, where you’ll need to show your park ticket. For a four-day ticket, the price for a foreign adult is CLP 48,500. Tickets must be purchased online through Pases Parques at least 24 hours before entering the park, so this isn’t something you can do on the spot.
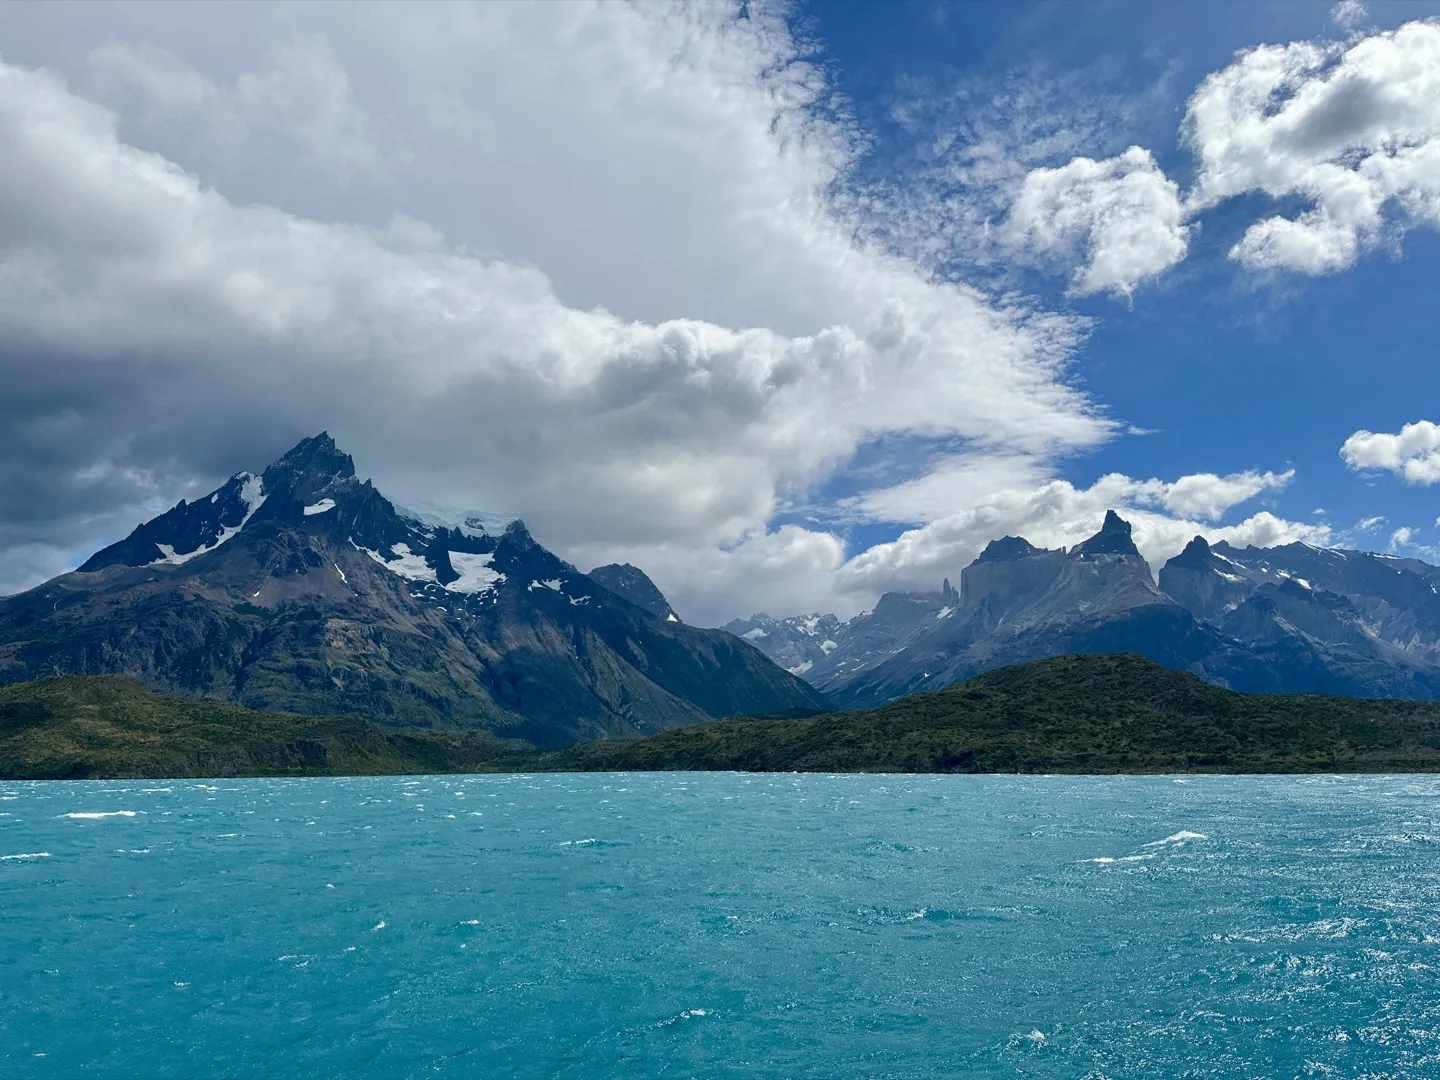
You’ll arrive in Pudeto around 10am, and once you’re there, there isn’t much to do except wait for the catamaran, which leaves around 10:30am during the summer months. Tickets currently cost CLP 28,000 one way and can be purchased online in advance. While you wait, you can grab a quick coffee and buy any last-minute supplies from the cafe.
The Lago Pehoé catamaran runs on different schedules throughout the year, so make sure your boat ticket lines up with your bus arrival time. The bus and catamaran timetables usually line up, making it easy to go straight from one to the other.
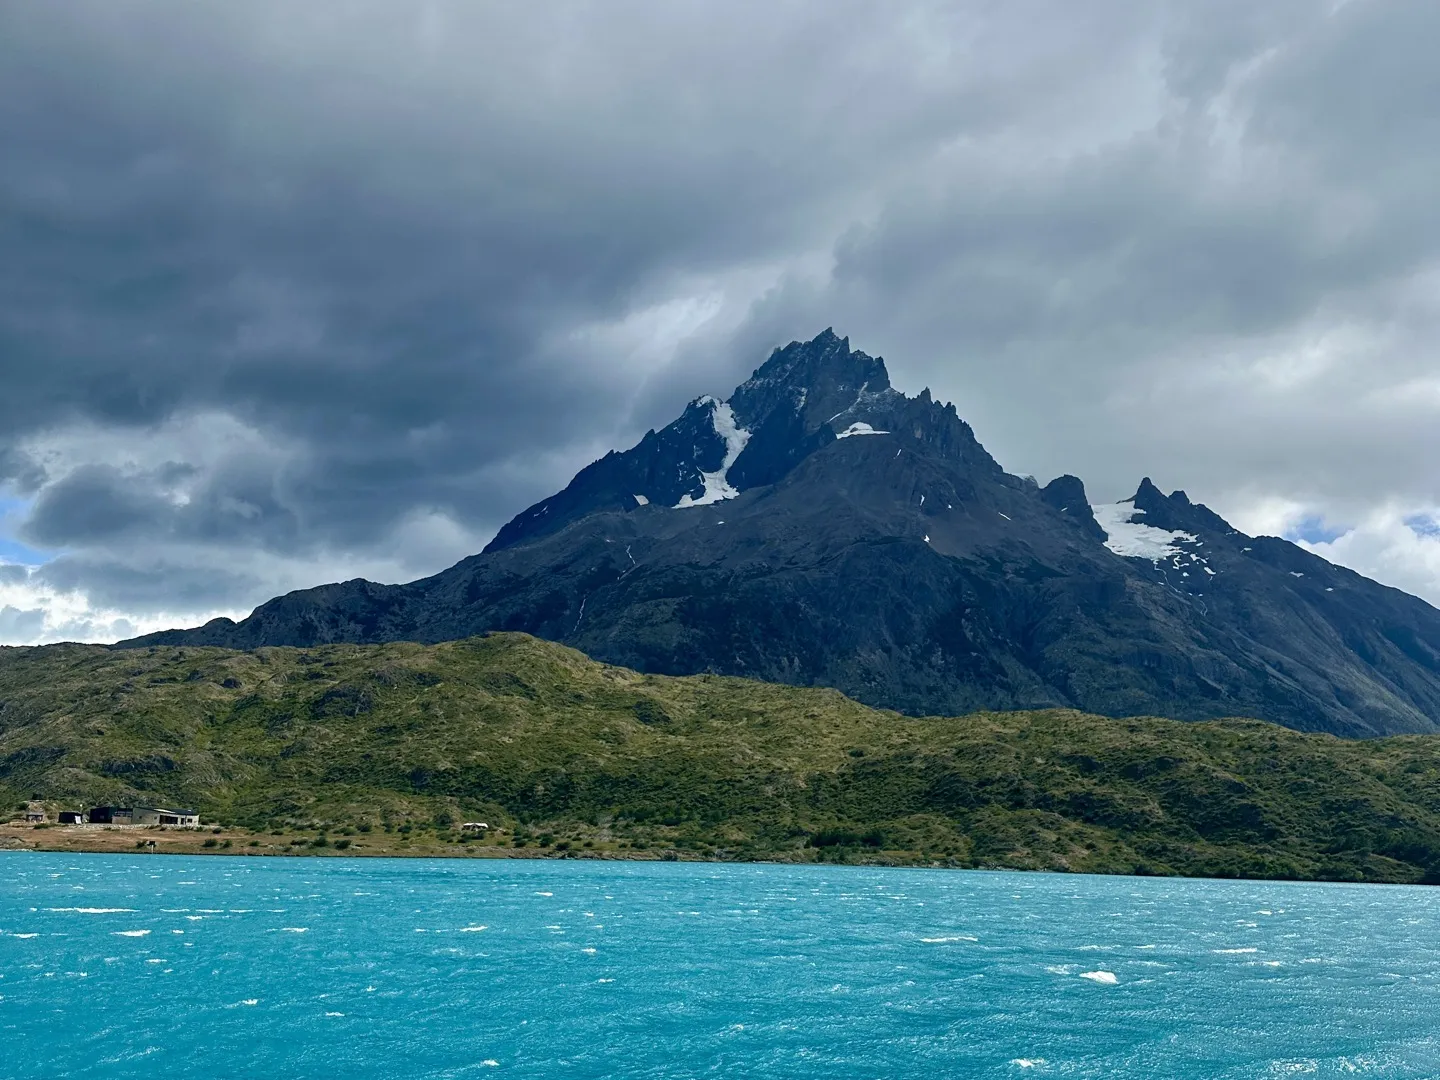
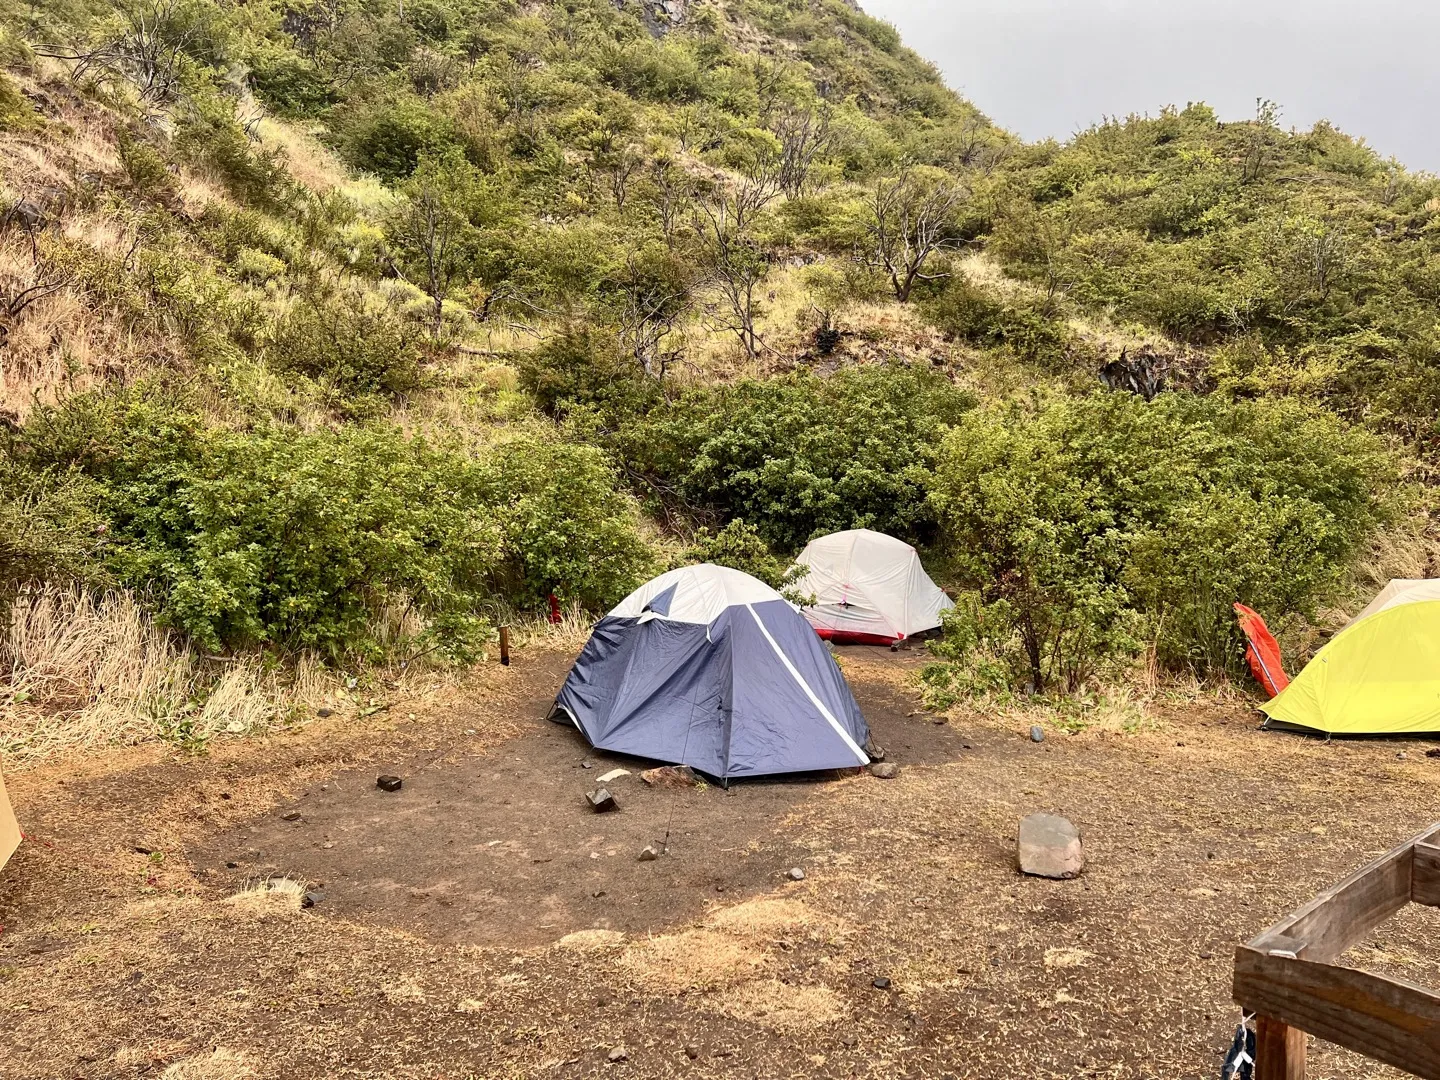
The catamaran drops you directly at Paine Grande campsite, where you’ll spend your first night. The first thing you’ll need to do is check in at the campsite office before setting up your tent and having lunch.
At each campsite, you can rent tents, sleeping bags and other camping equipment instead of carrying everything yourself. The prices are quite high, so check the official website beforehand to make sure this is a viable option for you.
There is an optional side hike to Grey Glacier on the first day, which is a 23.5km (14.6 miles) out-and-back hike that takes roughly 7 hours. The trail itself is straightforward and follows the eastern side of Lago Grey, with the lake on one side and granite peaks on the other. Parts of the trail are completely exposed, and we really felt the famous Patagonian winds here, so make sure you come prepared.
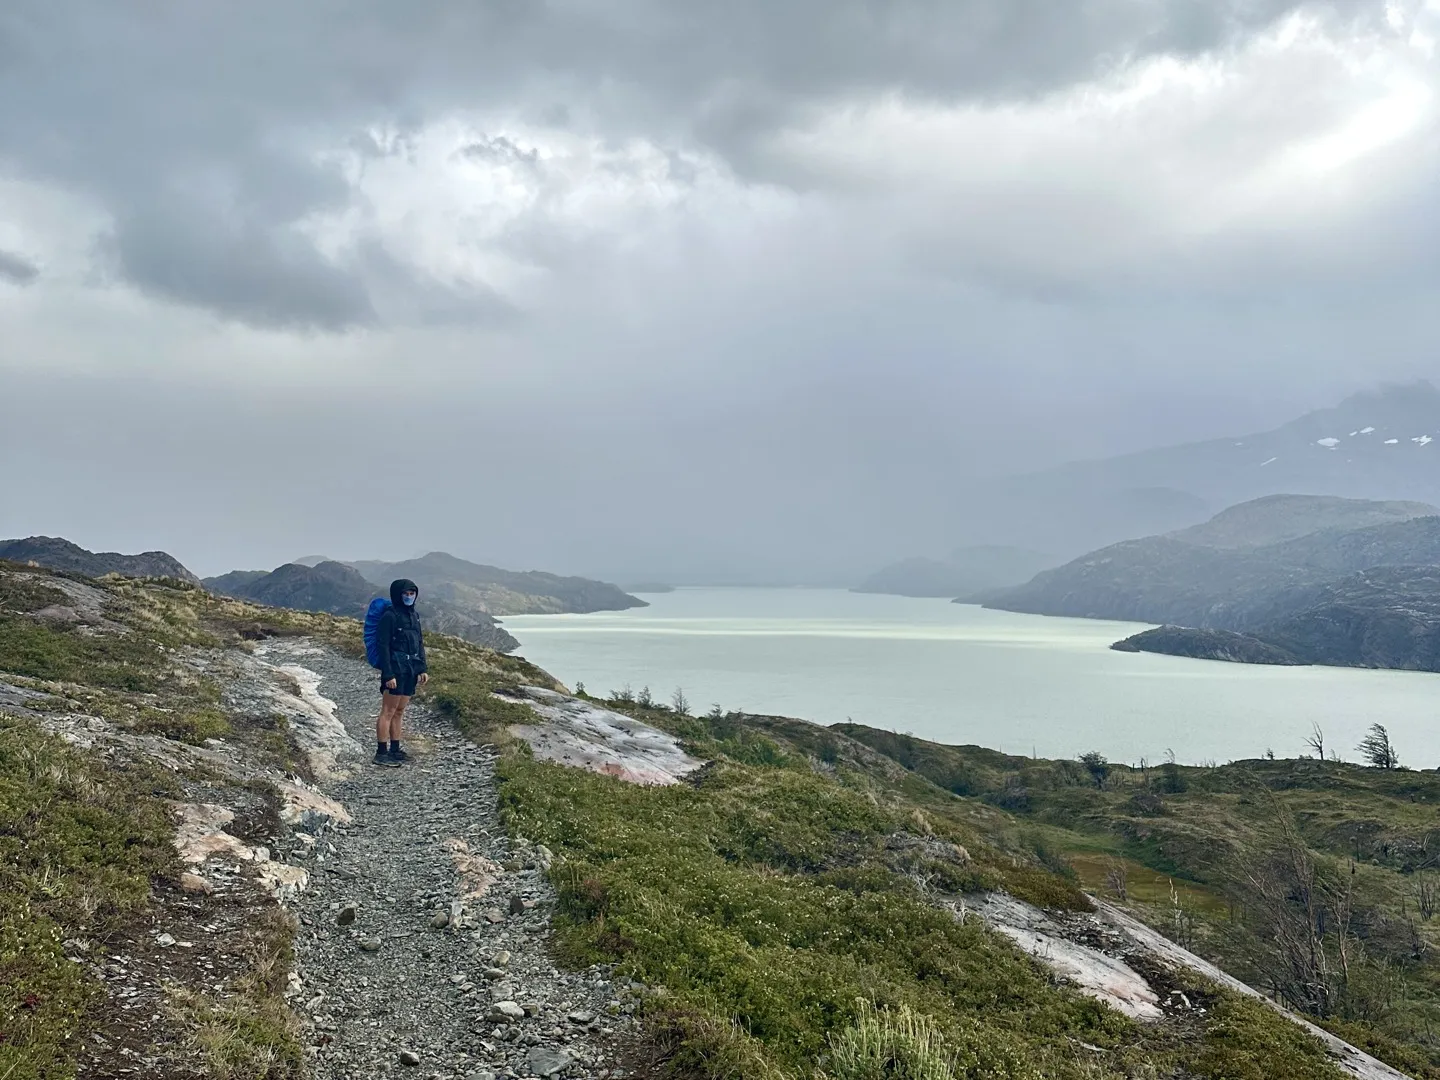
When you eventually reach Refugio Grey, the viewpoint for the glacier is on the other side of the campsite. Unfortunately, it was pretty cloudy when we arrived, so we couldn’t see the full extent of the glacier. However, this is still a side trip I would recommend doing, especially if the weather is clear.
There were signs around Grey and Paine Grande showing a 3:00pm trail cut-off. While this wasn’t enforced, I would recommend getting back to Paine Grande while there is still light so you don’t get lost.
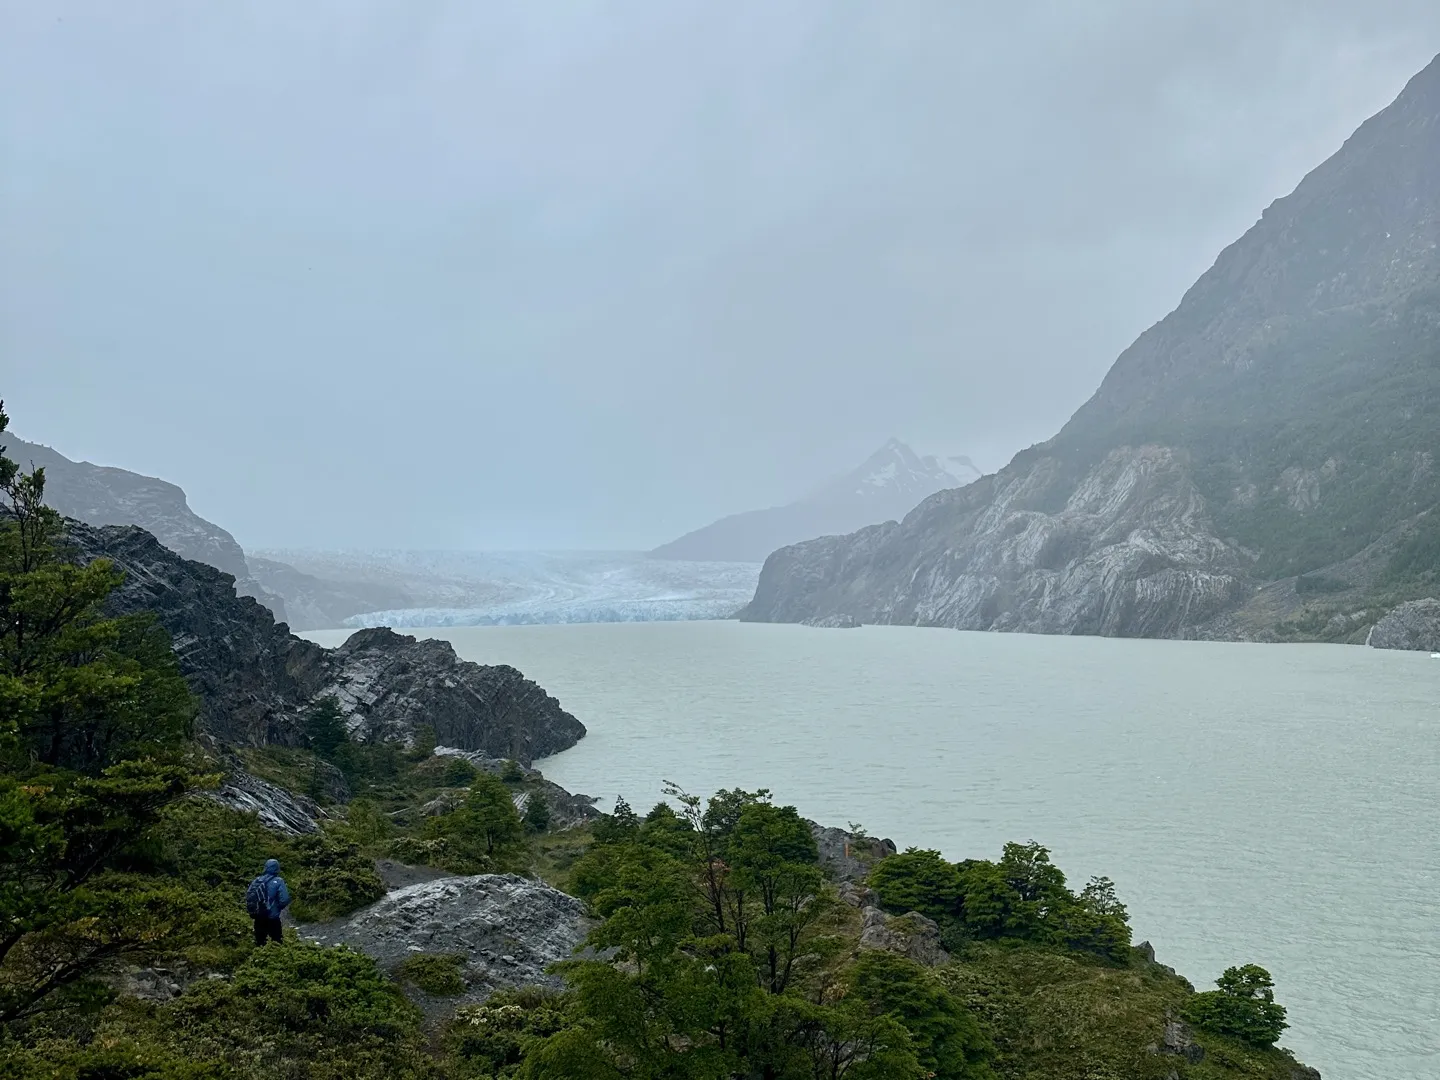
If the 23.5km (14.6 miles) return trip is too long, you can still walk part of the way towards Grey Glacier and get several viewpoints over Lago Grey before turning back.
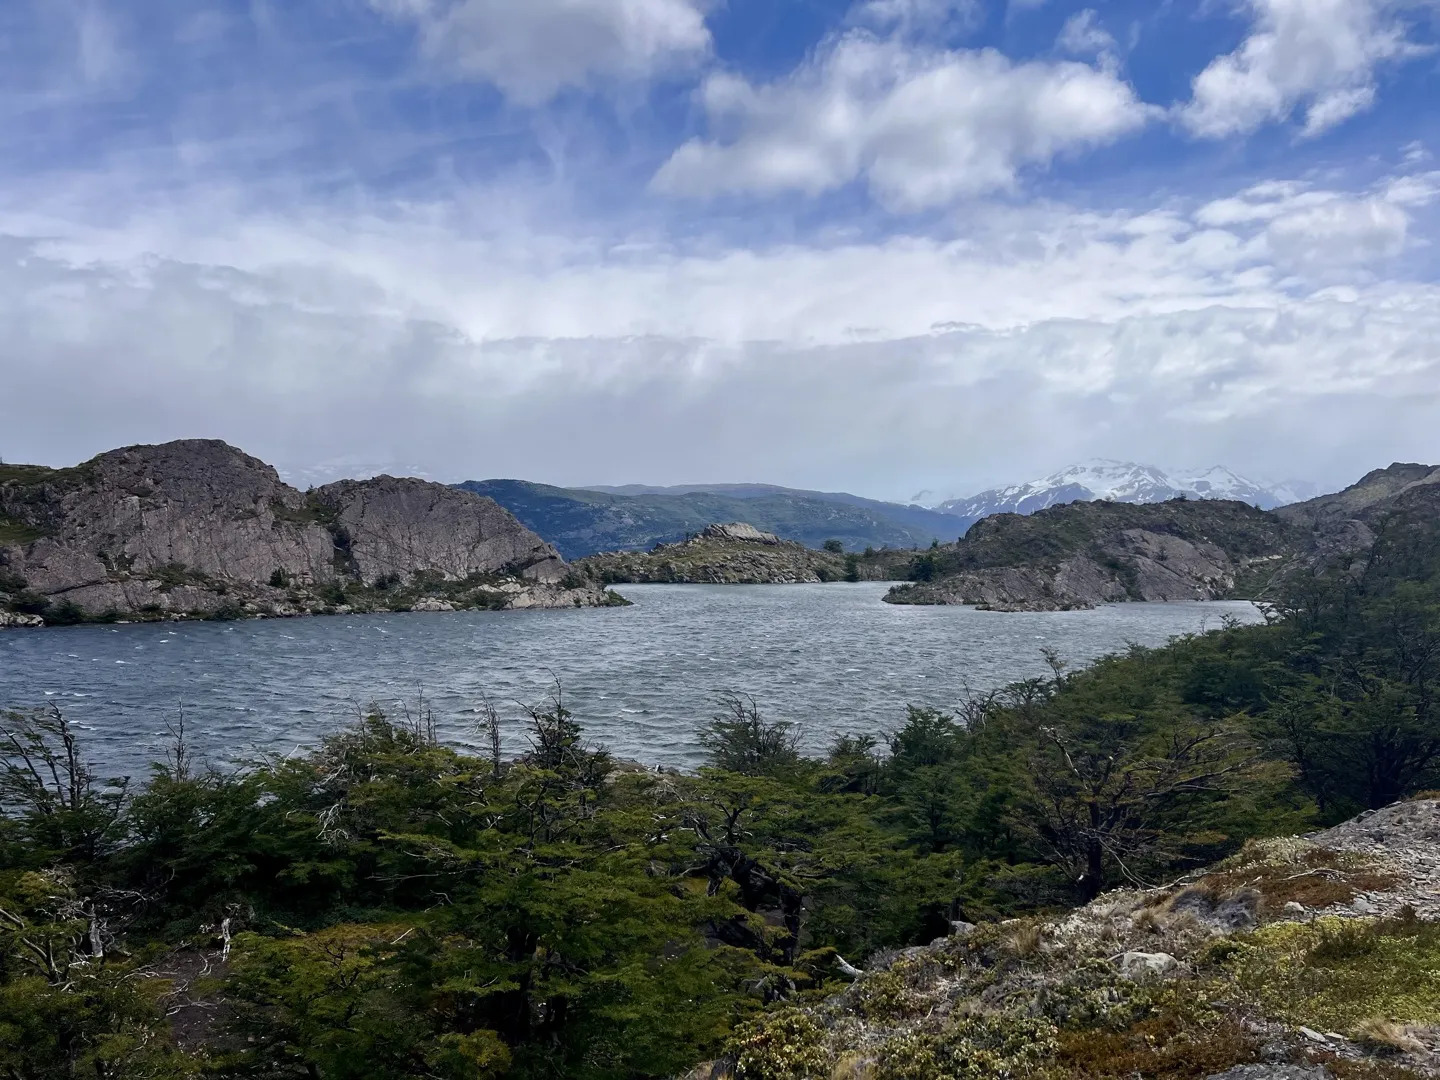
On the second day of the W Trek, you will need to head east towards Francés campsite. While there’s no need to wake up before sunrise, I would still leave relatively early as you have the optional side hike to Mirador Británico later in the day.
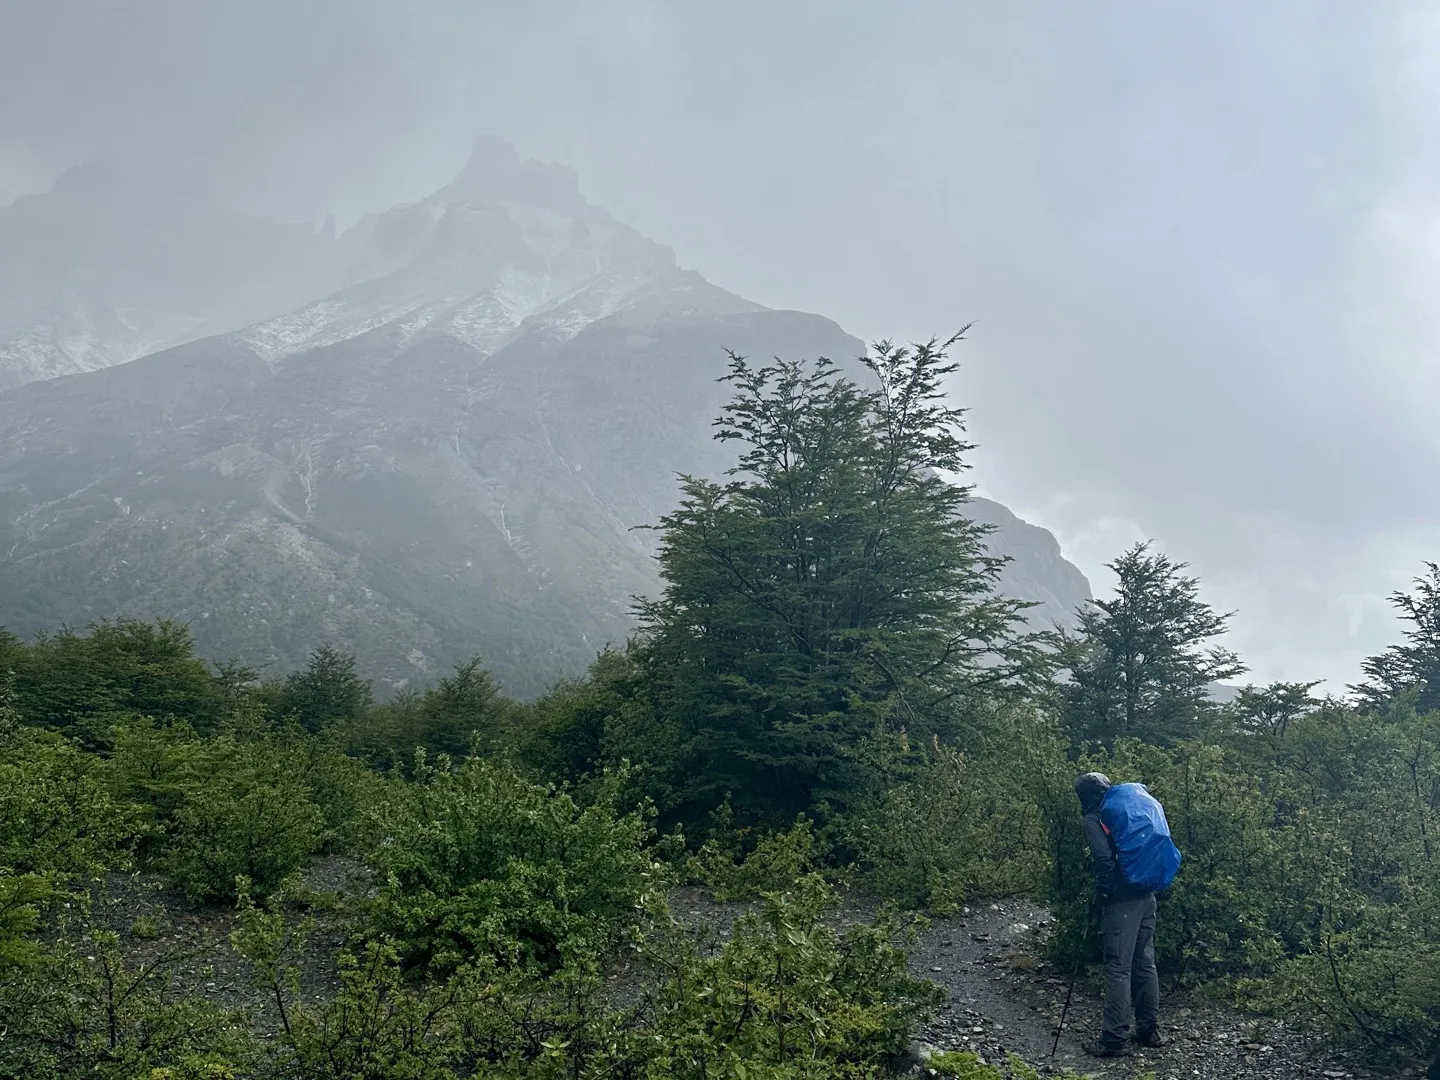
The walk from Paine Grande to Francés is one of the easier sections of the W Trek, with mostly undulating terrain rather than any sustained climbing. You’ll spend much of it walking around Lago Skottsberg, with the mountains getting noticeably closer as you approach the French Valley. Just before reaching Francés, you’ll pass the old Italiano campsite, which is also where the turnoff to Mirador Británico begins.
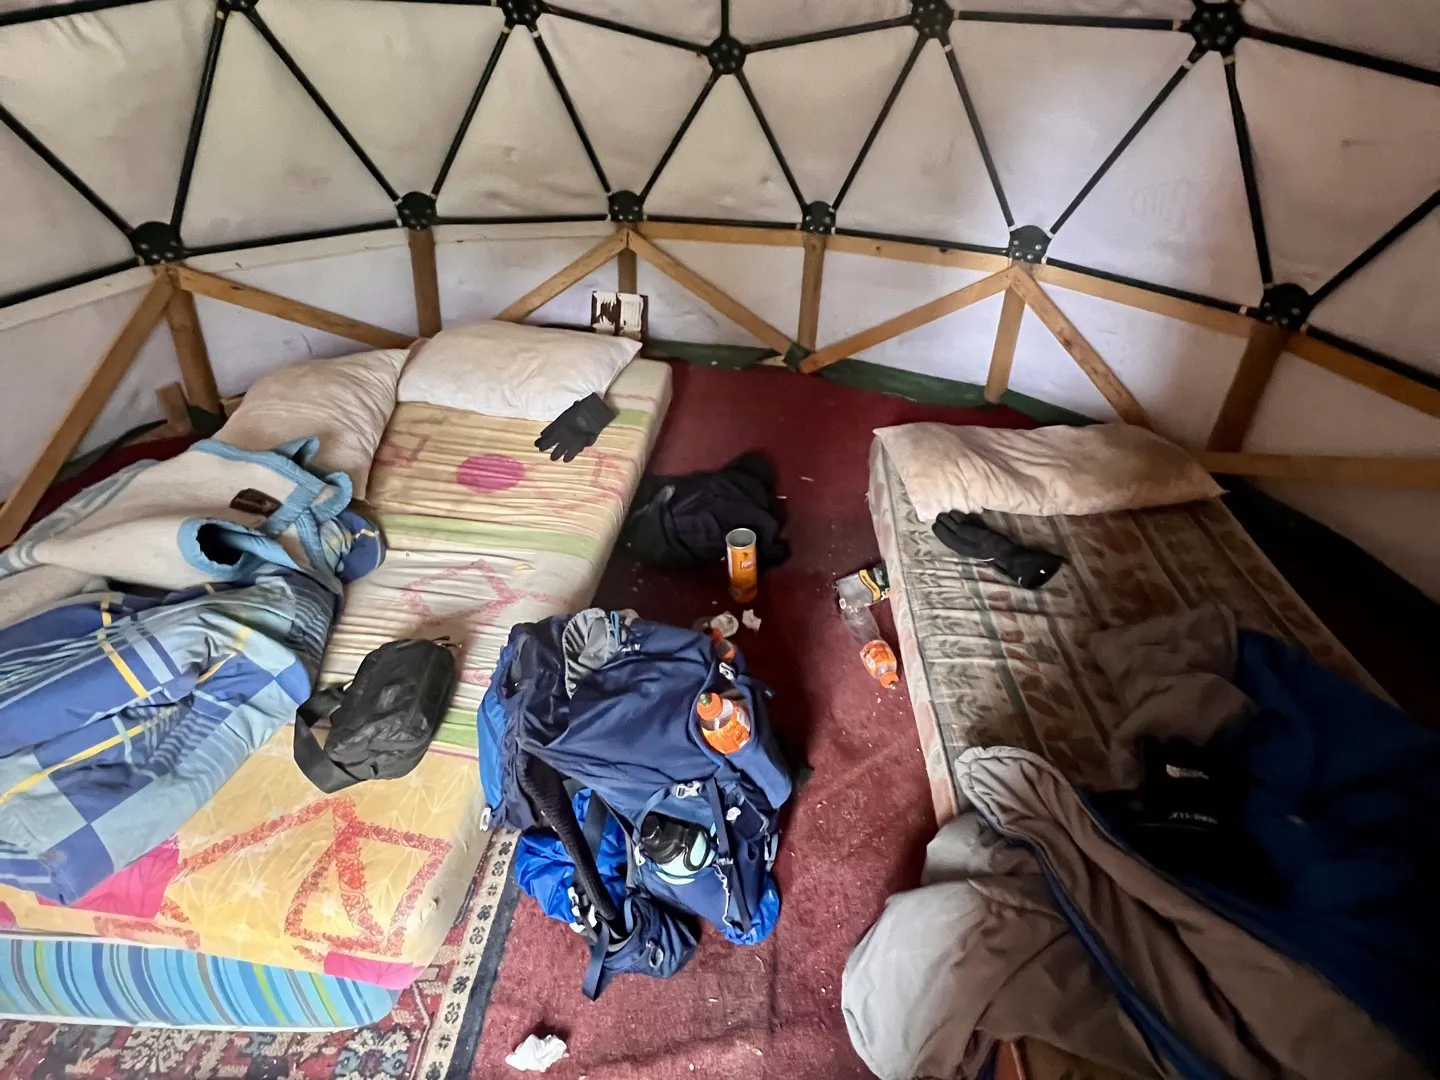
While you can no longer stay overnight at Italiano, there is still a functioning toilet block that can also be used as shelter if the weather turns bad.
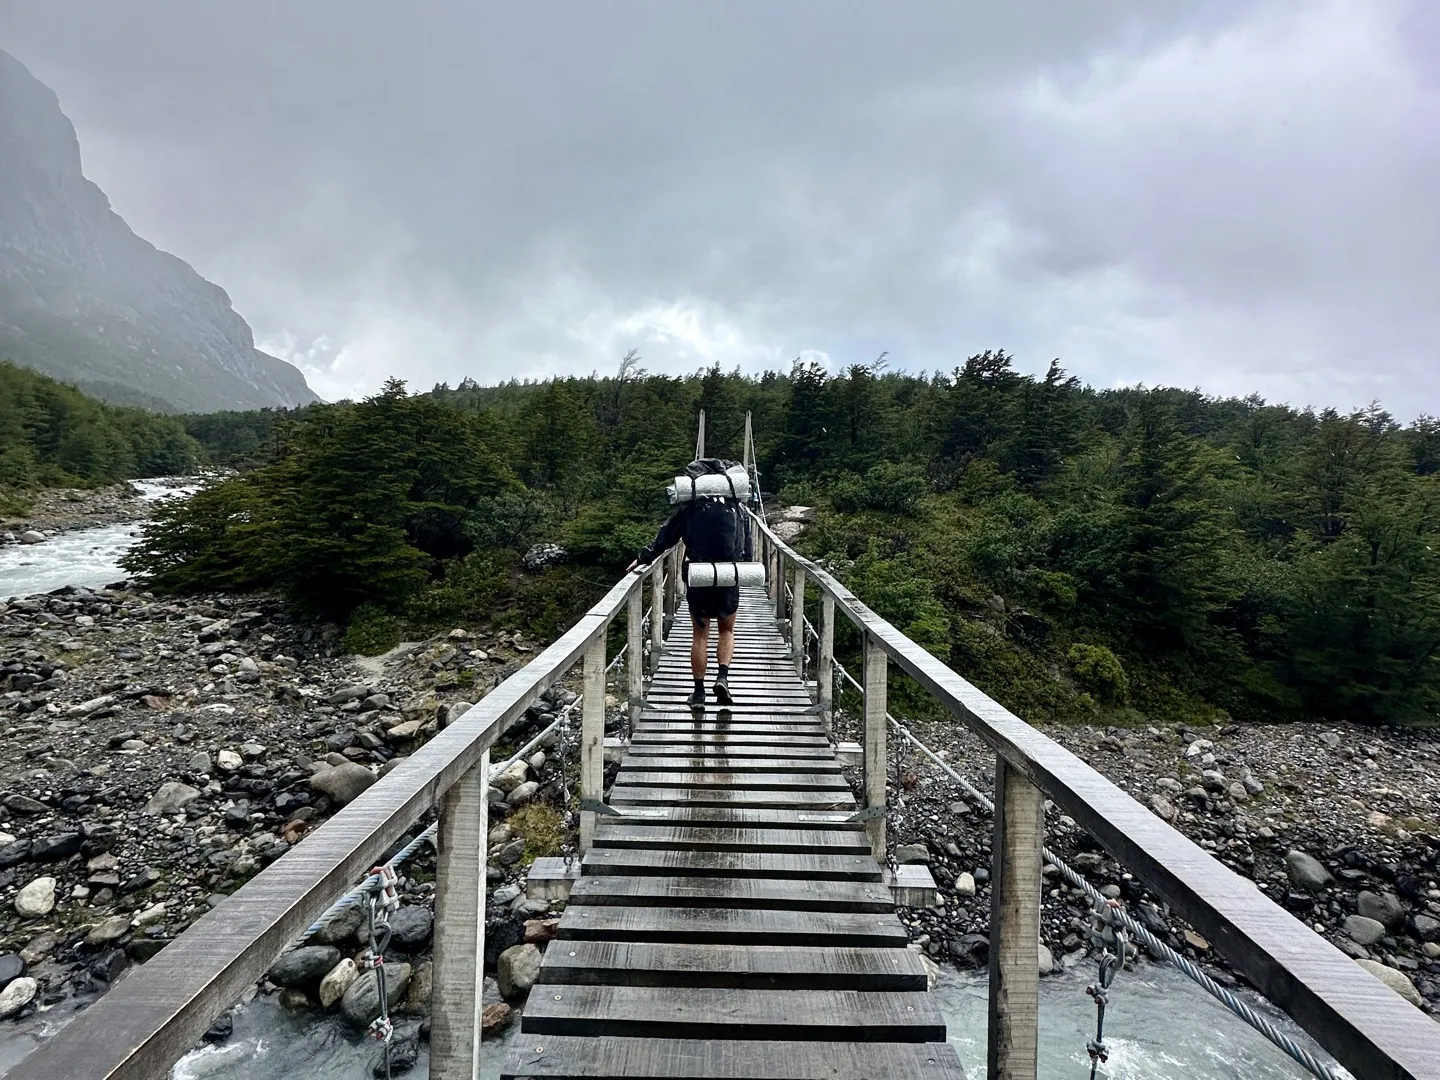
From Italiano, Francés is only another 1 km (0.6 miles) away. However, as check-in at Francés doesn’t open until 3:00pm, you won’t have enough time to check in, set up camp and then hike to Mirador Británico before it gets dark. The easiest option is to leave your main bag at Italiano, complete the side hike with a daypack, then collect it afterwards and continue to Francés. As there isn’t secure luggage storage, keep any valuables with you.
If Francés is full, the next campsite is Cuernos, around 3.5 km (2.2 miles) further along the W Trek. I would still leave your main bag at Italiano while hiking to Británico, then collect it afterwards and continue past Francés towards Cuernos.
From Italiano, Mirador Británico is roughly a 12 km (7.5 miles) out-and-back hike. While the route is predominantly uphill on the way to the viewpoint, it isn’t overly difficult and is definitely one I would recommend doing.
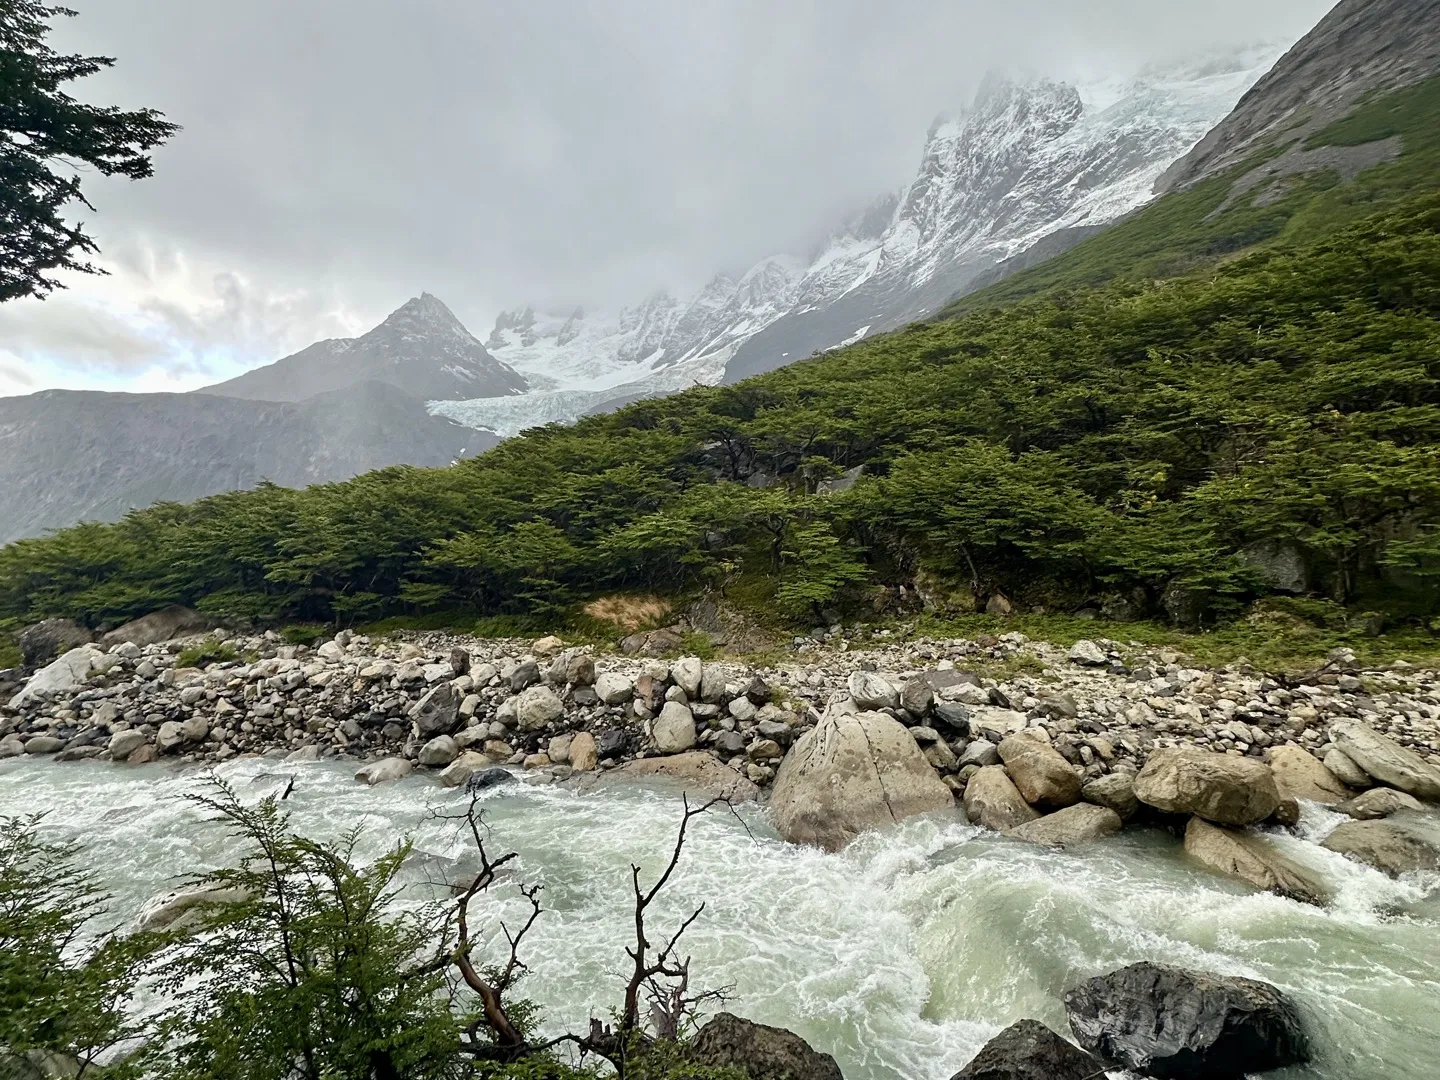
To start the hike, take the turnoff north from Italiano into the French Valley. From there, the path follows the Río Francés uphill and gradually becomes steeper. The first viewpoint is Mirador Francés, which gives you a much closer look at the glacier you’ve probably been hearing for a while and mistaking for thunder.
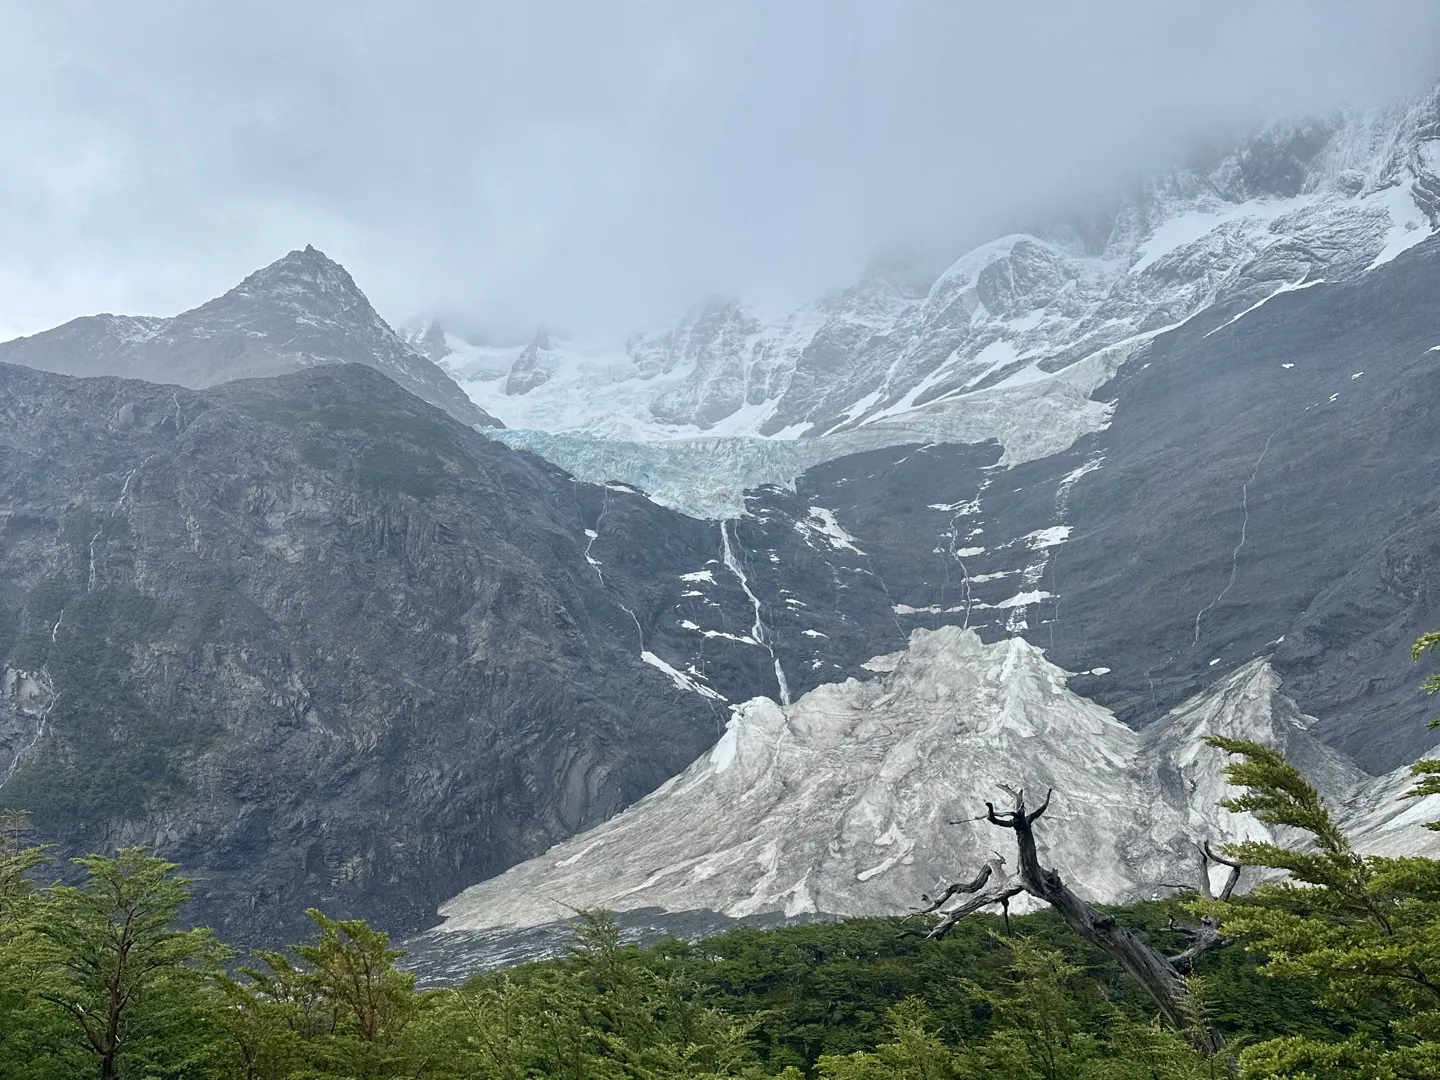
After Mirador Francés, the trail to Británico weaves in and out of the forest, each time opening onto rockier and more exposed terrain. Eventually, you’ll leave the forest for the final time and arrive at Mirador Británico. The viewpoint sits in the middle of a huge natural amphitheatre surrounded by the granite peaks of the Paine massif. Once you’ve taken it all in, retrace your steps back to Italiano, collect your main bag and continue on to Francés before it gets dark.
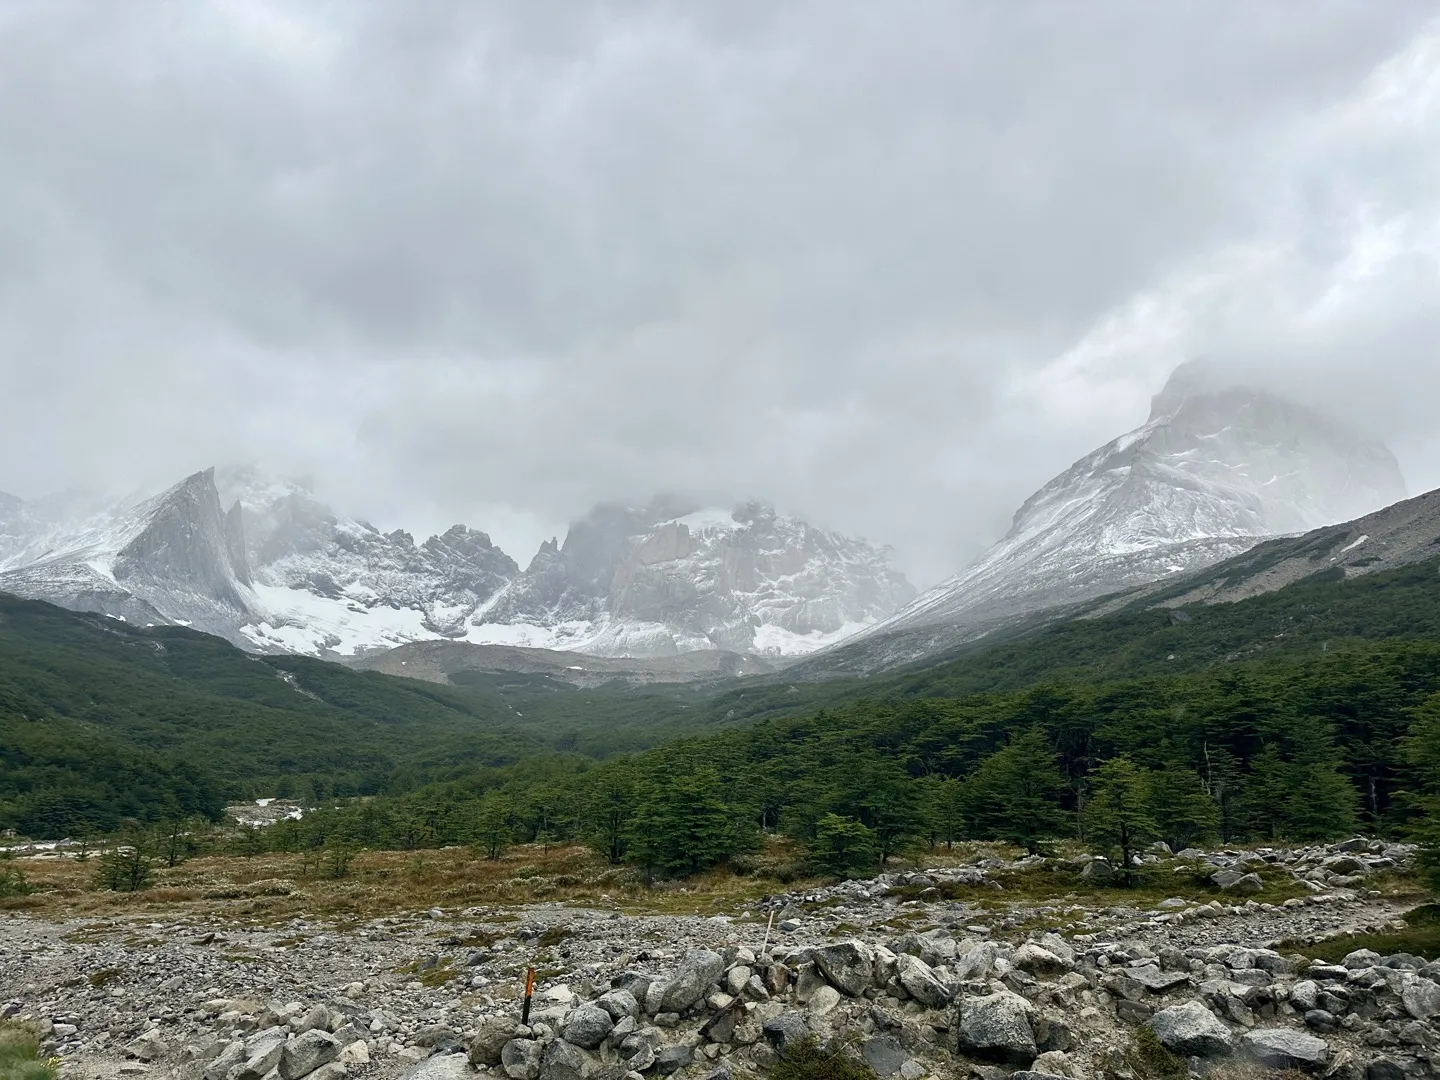
The third day of the W Trek is a straightforward point-to-point hike from Francés to Chileno campsite. There are no side trips to do today, so after packing up your tent, head east towards the Cuernos section and enjoy the walk.
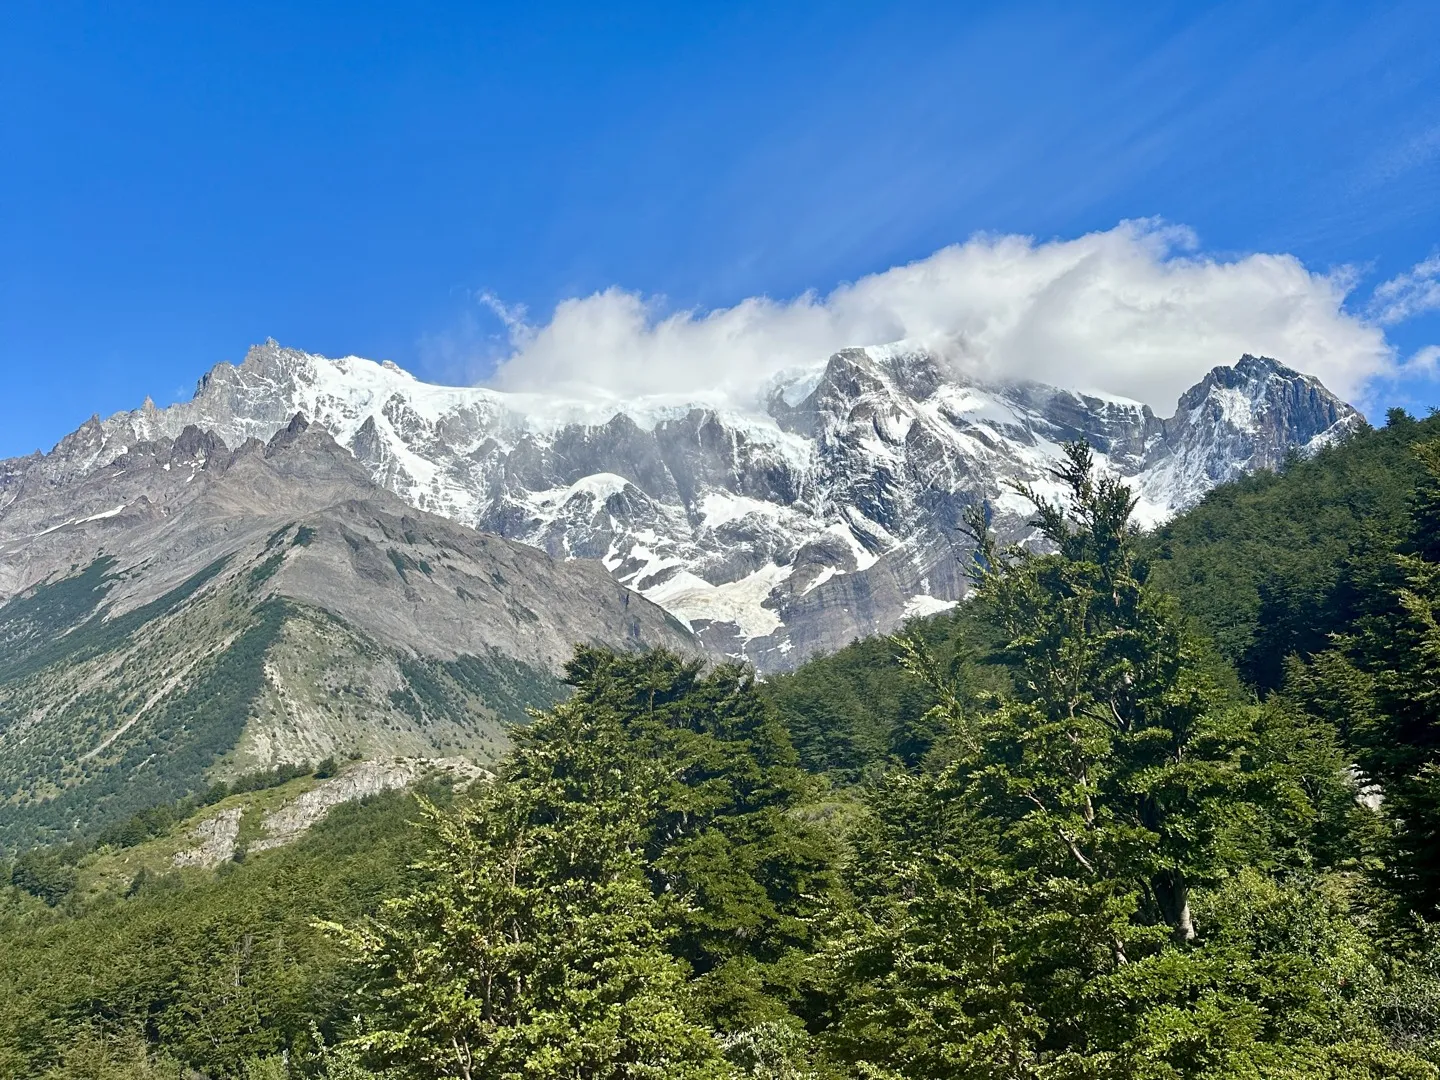
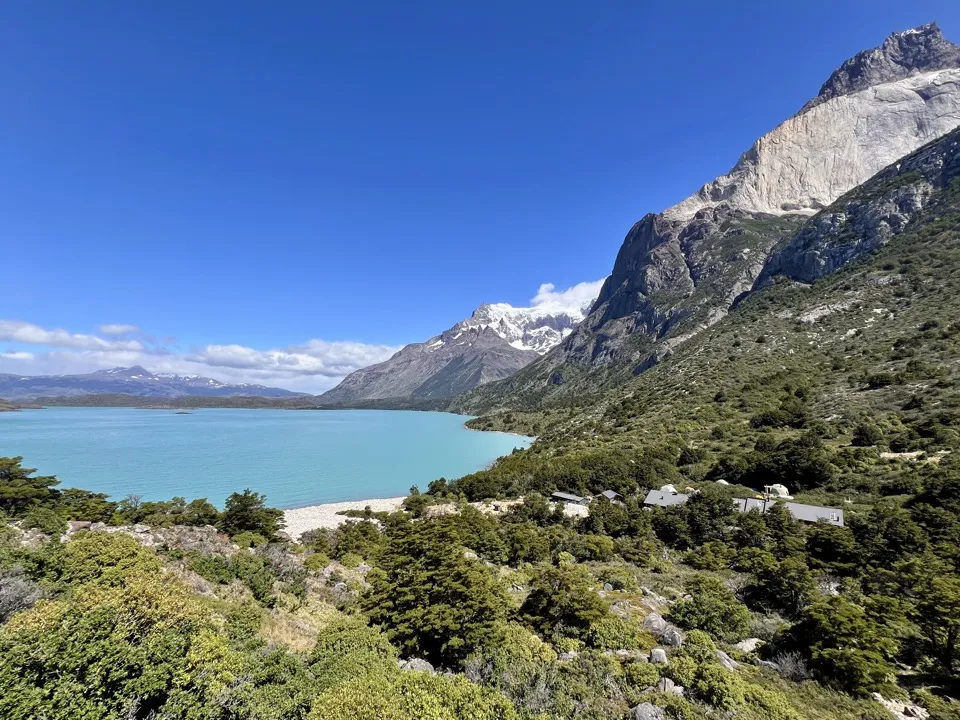
For much of the first part of the day, the trail follows Lago Nordenskjöld, with open views across the turquoise water towards Los Cuernos and the rest of the Paine massif. There aren’t any huge climbs through this section, but the trail is constantly rolling up and down, which can start to add up when you’re carrying a full backpack.
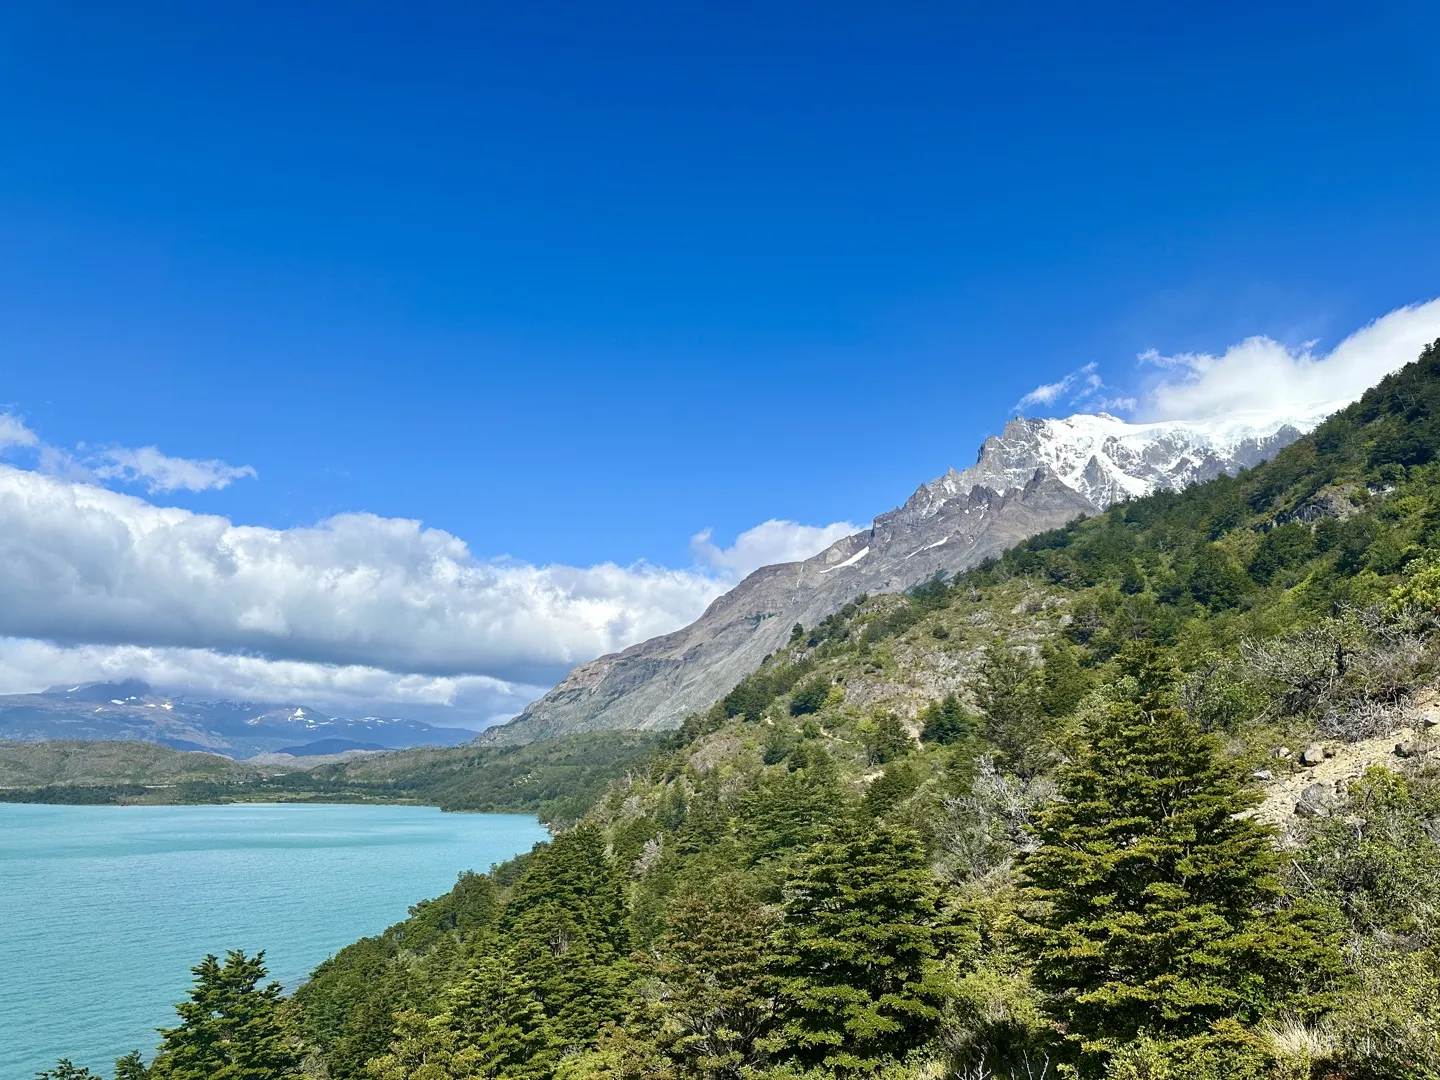
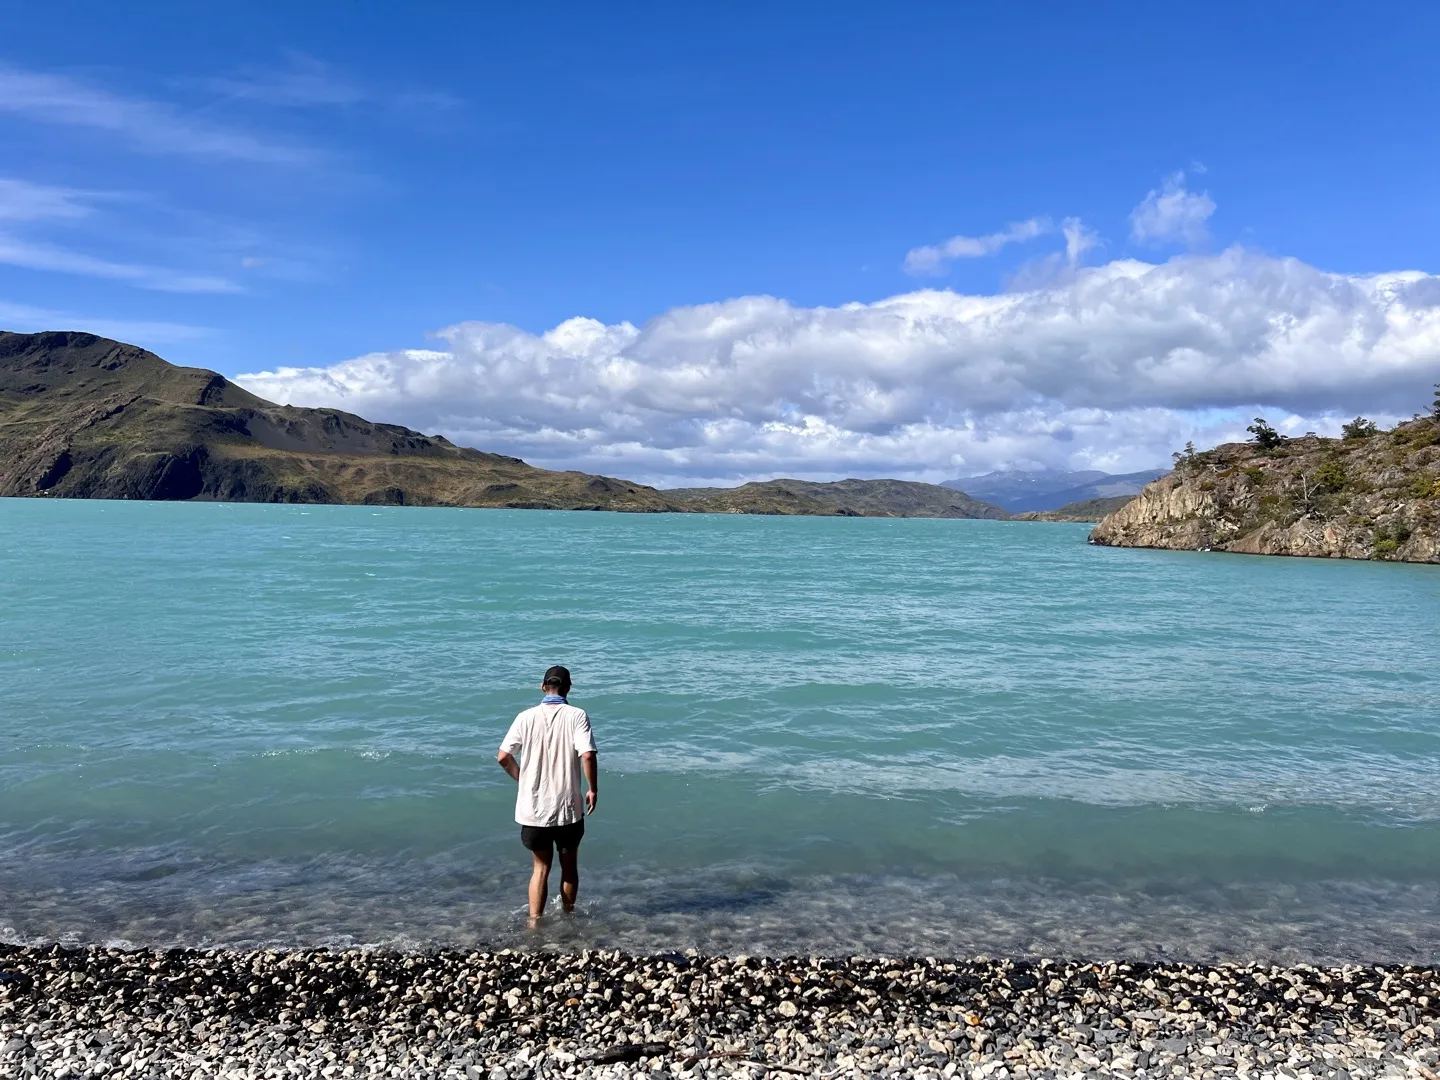
At one point, the trail comes right down beside Lago Nordenskjöld onto a small pebble beach. This is the perfect place to sit down, catch your breath and have an early lunch surrounded by Patagonian scenery. Although the turquoise water can be very inviting, swimming is prohibited due to dangerous currents, so we only cooled our legs off at the edge.
As you move away from Lago Nordenskjöld, the landscape starts to change from open lakeside terrain to the much more enclosed Ascencio Valley. There is one final climb before the trail begins running parallel to the Río Ascencio, high above the river below, eventually bringing you to Chileno campsite. Before going to bed, make sure to pack a daypack for the sunrise hike the following morning.
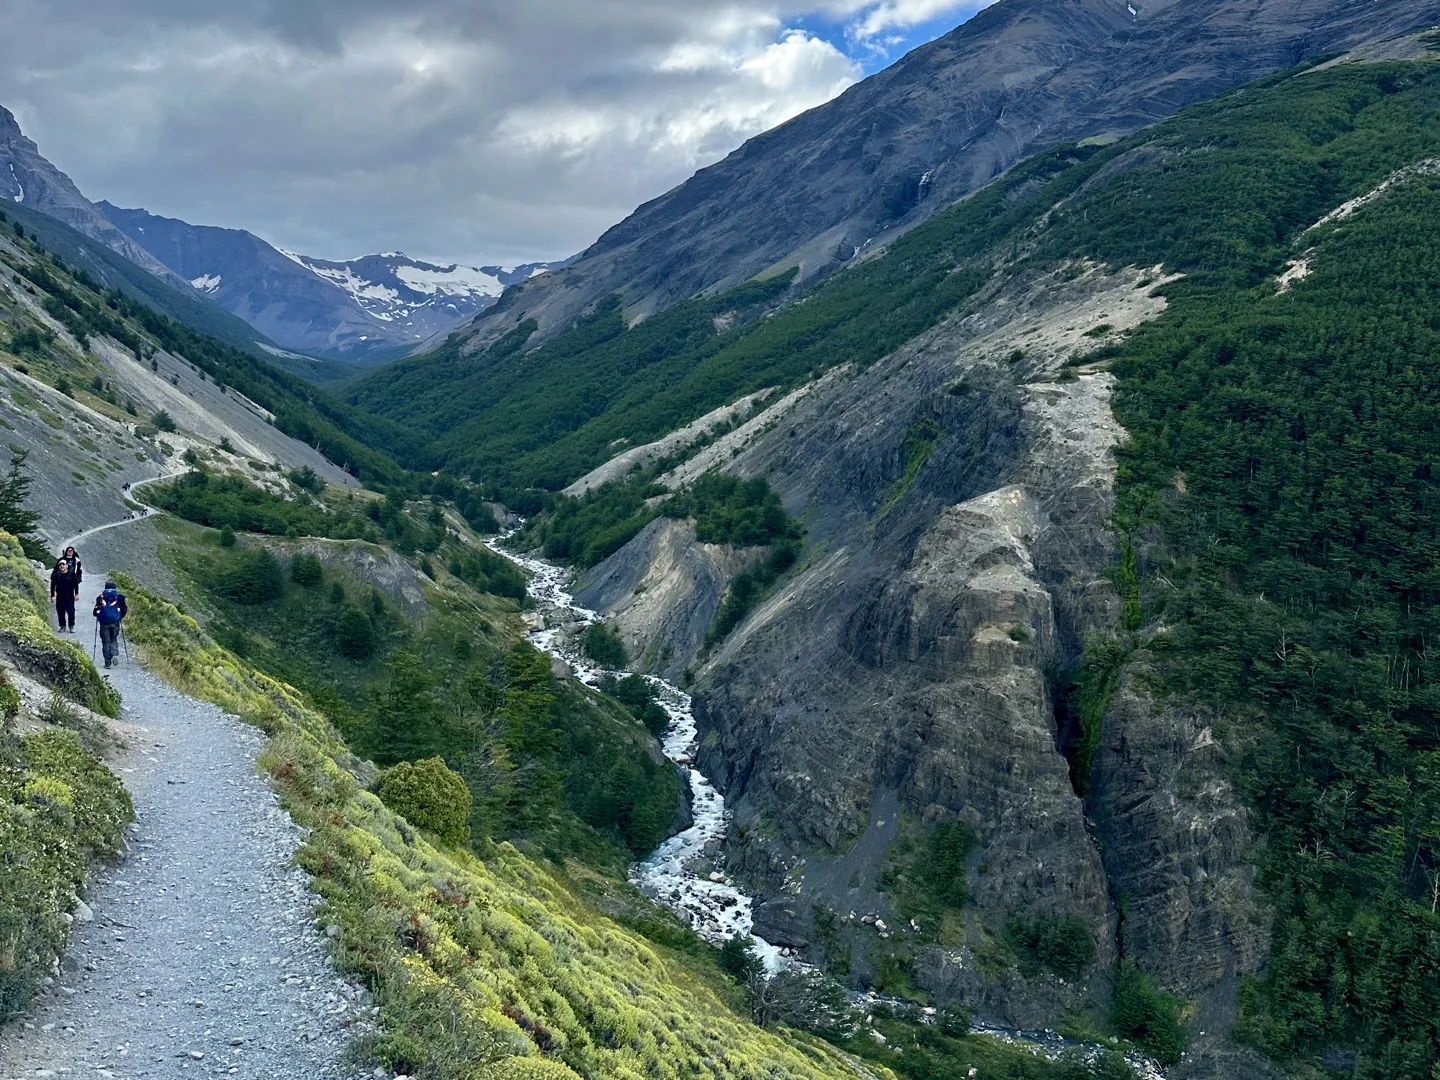
If you’re planning to hike to Mirador Base Torres for sunrise, Chileno is the best campsite to stay at as it’s the closest to the viewpoint. If Chileno is full, Camping Central is the next closest option. From there, the viewpoint is around 10 km (6.2 miles) away and takes roughly four hours to reach, so you’ll need to start much earlier if you still want to make it for sunrise.
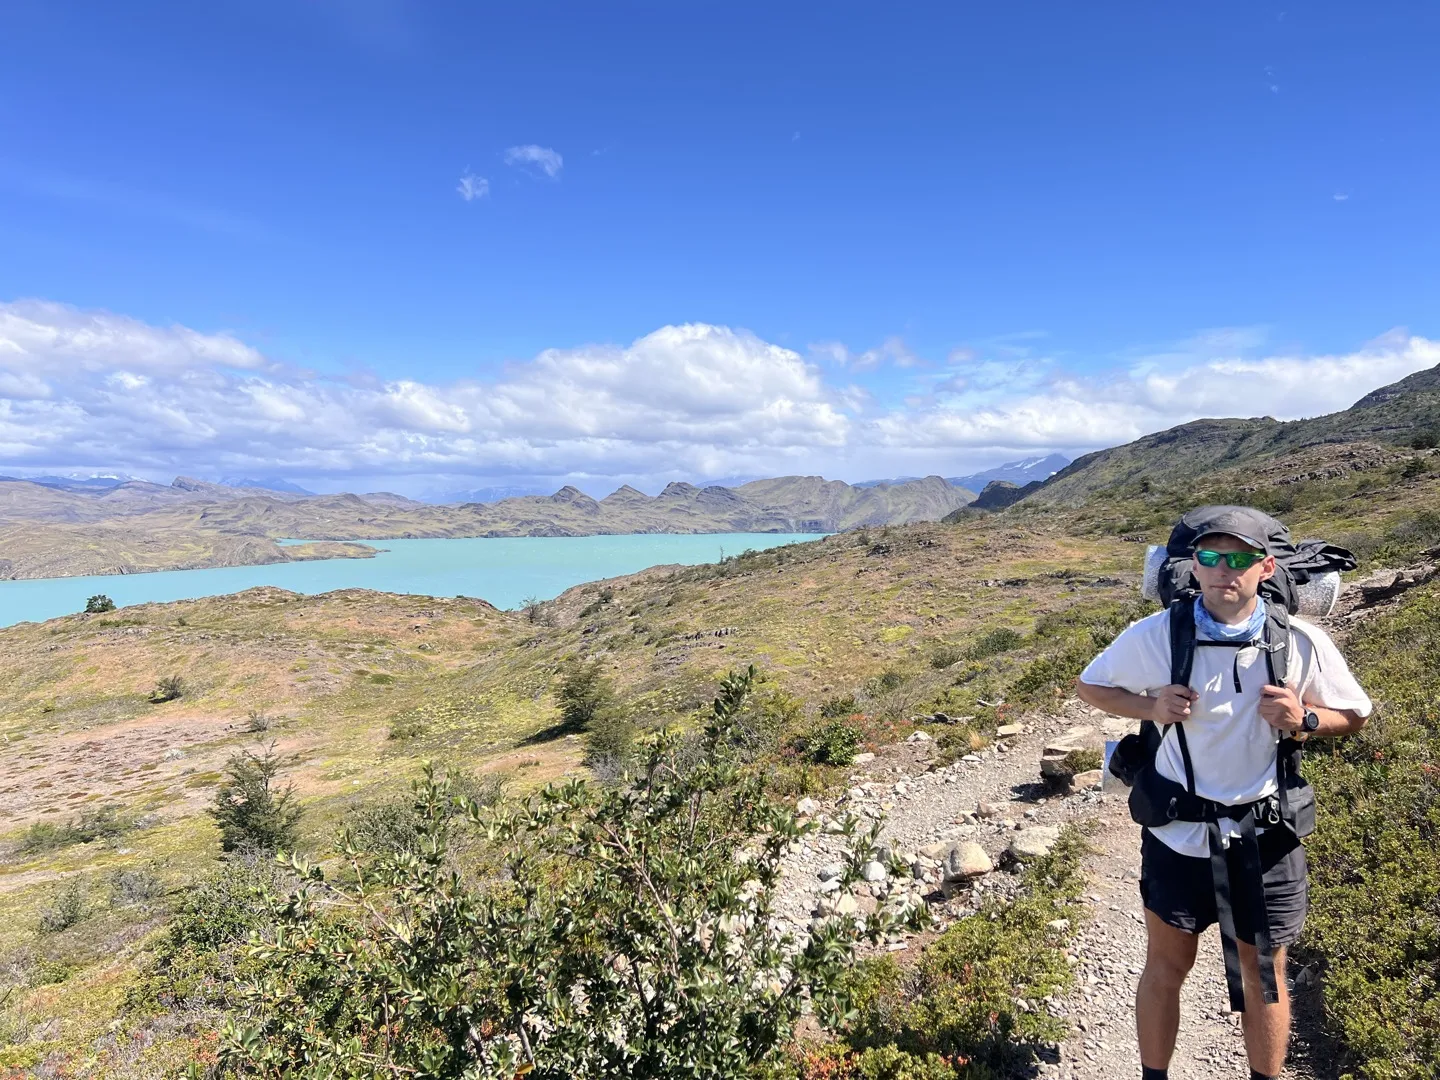
When I did the W Trek in January, we woke up at 3:30am, which gave us enough time to reach Mirador Base Torres before sunrise. From Chileno, it’s roughly 4.5 km (2.8 miles) to the viewpoint and takes around 1.5–2 hours. You’ll be hiking entirely in the dark, so make sure you have a headtorch.
The time of sunrise changes throughout the year, so check it the night before and work backwards from there. As a general rule, the sun rises earlier during summer.
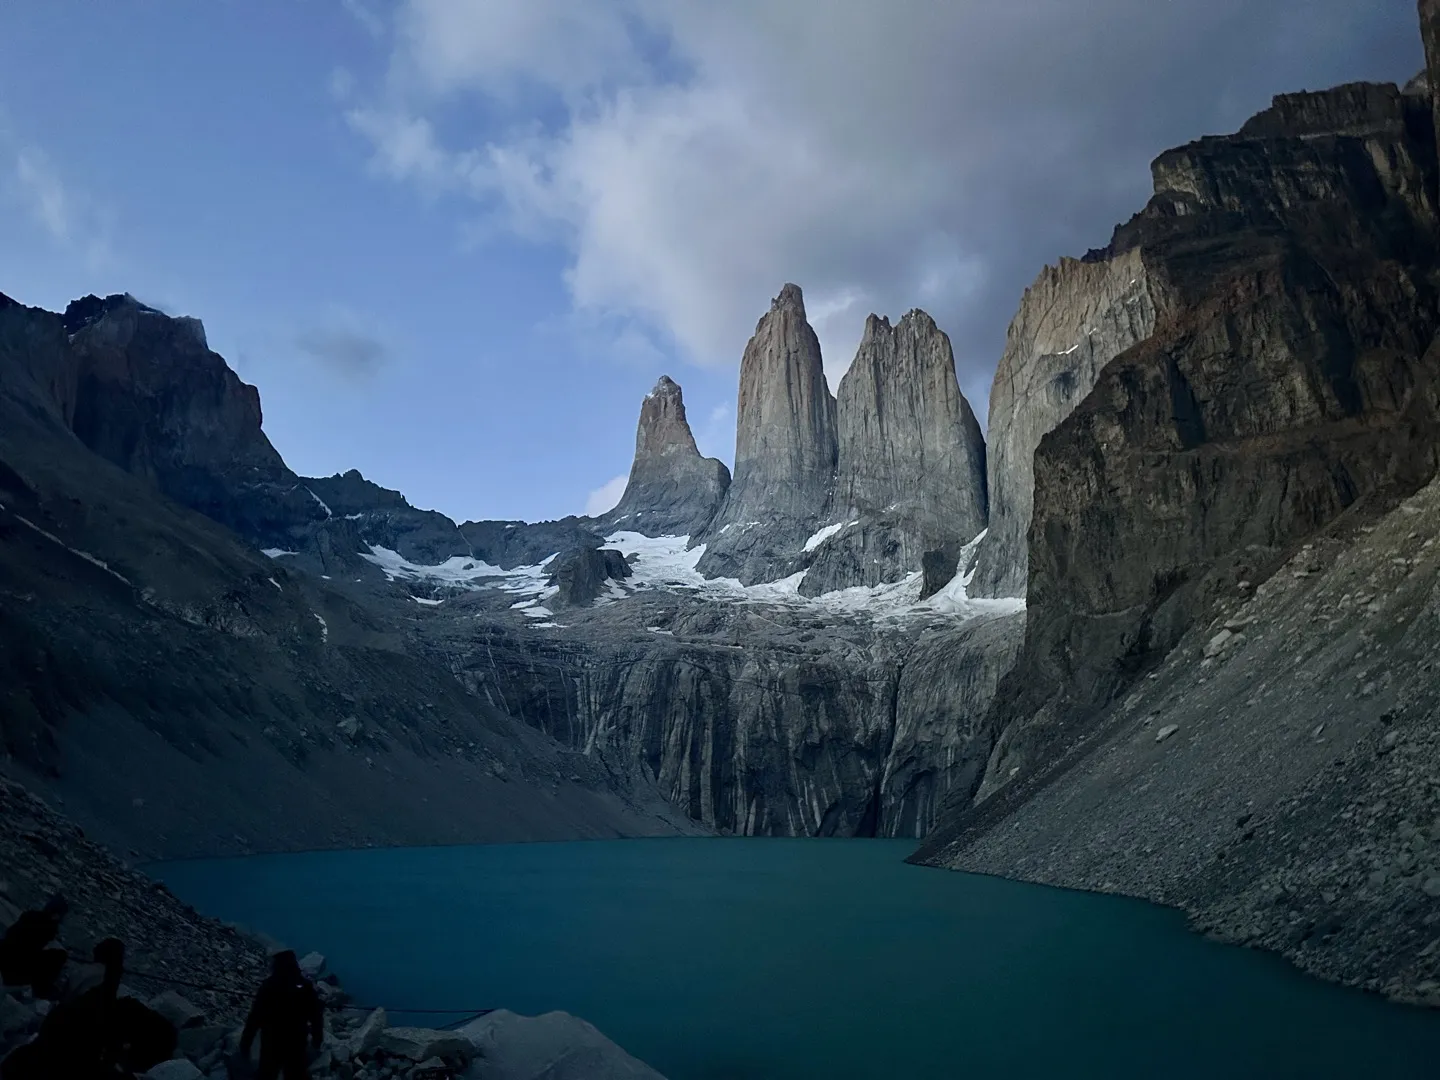
The hike starts through the forest, and in complete darkness you don’t really get much appreciation for what’s around you. As you climb higher, the trail becomes steeper before eventually leaving the forest and reaching the rocky moraine below Base Torres. This final ascent is the hardest part of the morning, with a steep trail over loose rocks that feels even more difficult when your headtorch is the only light you have.
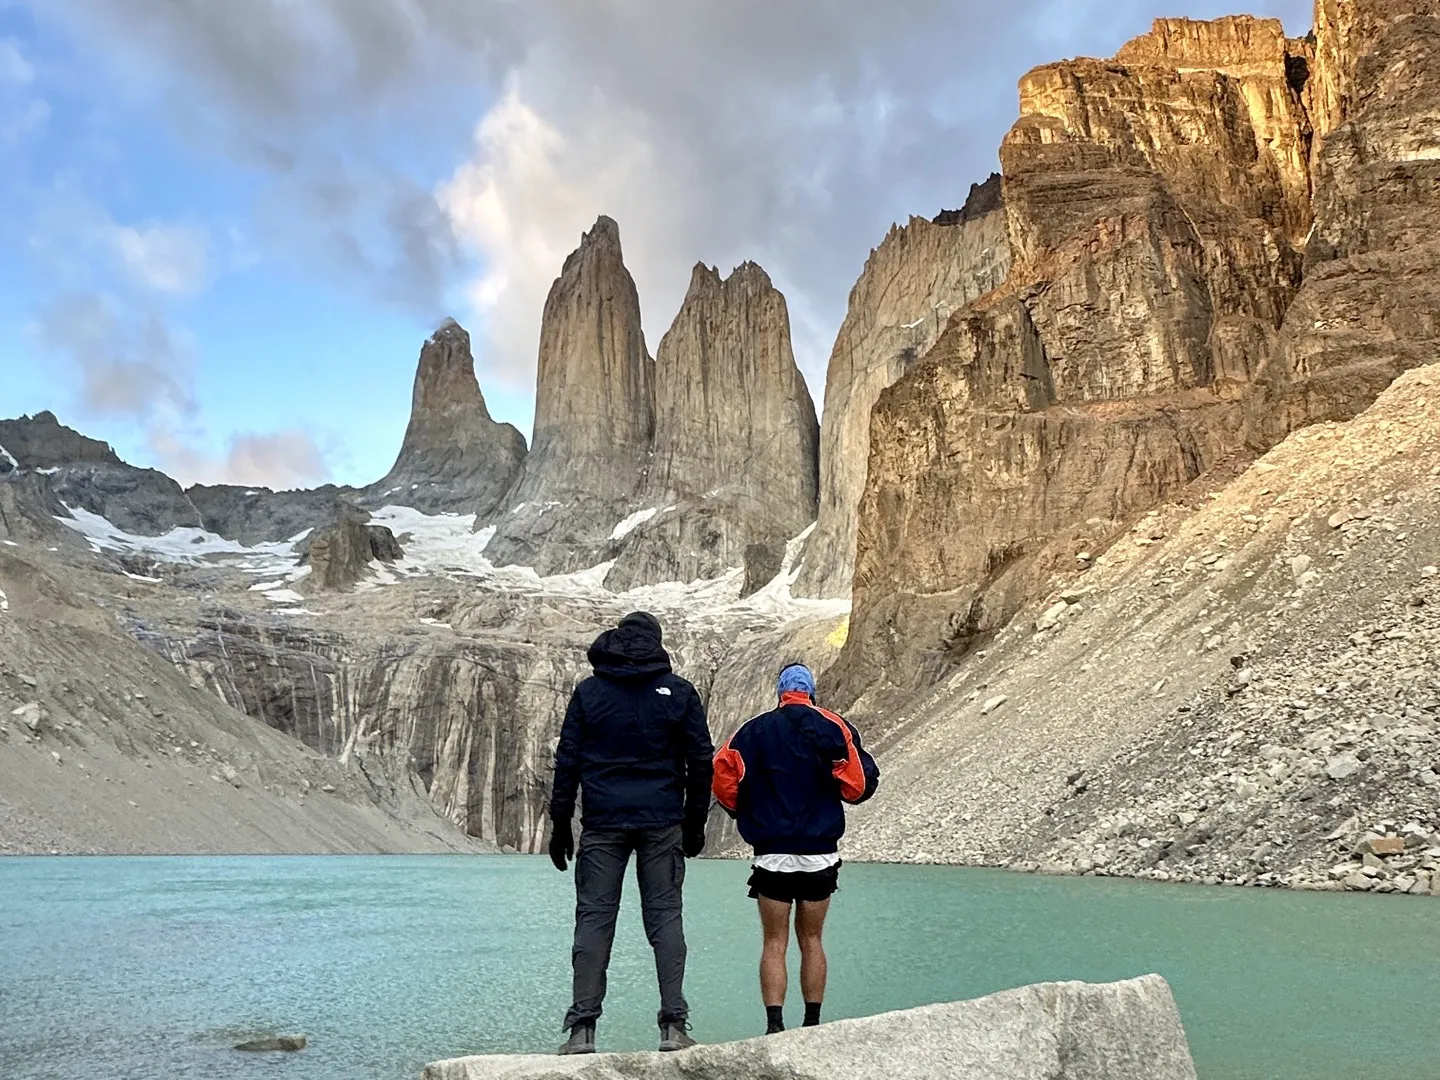
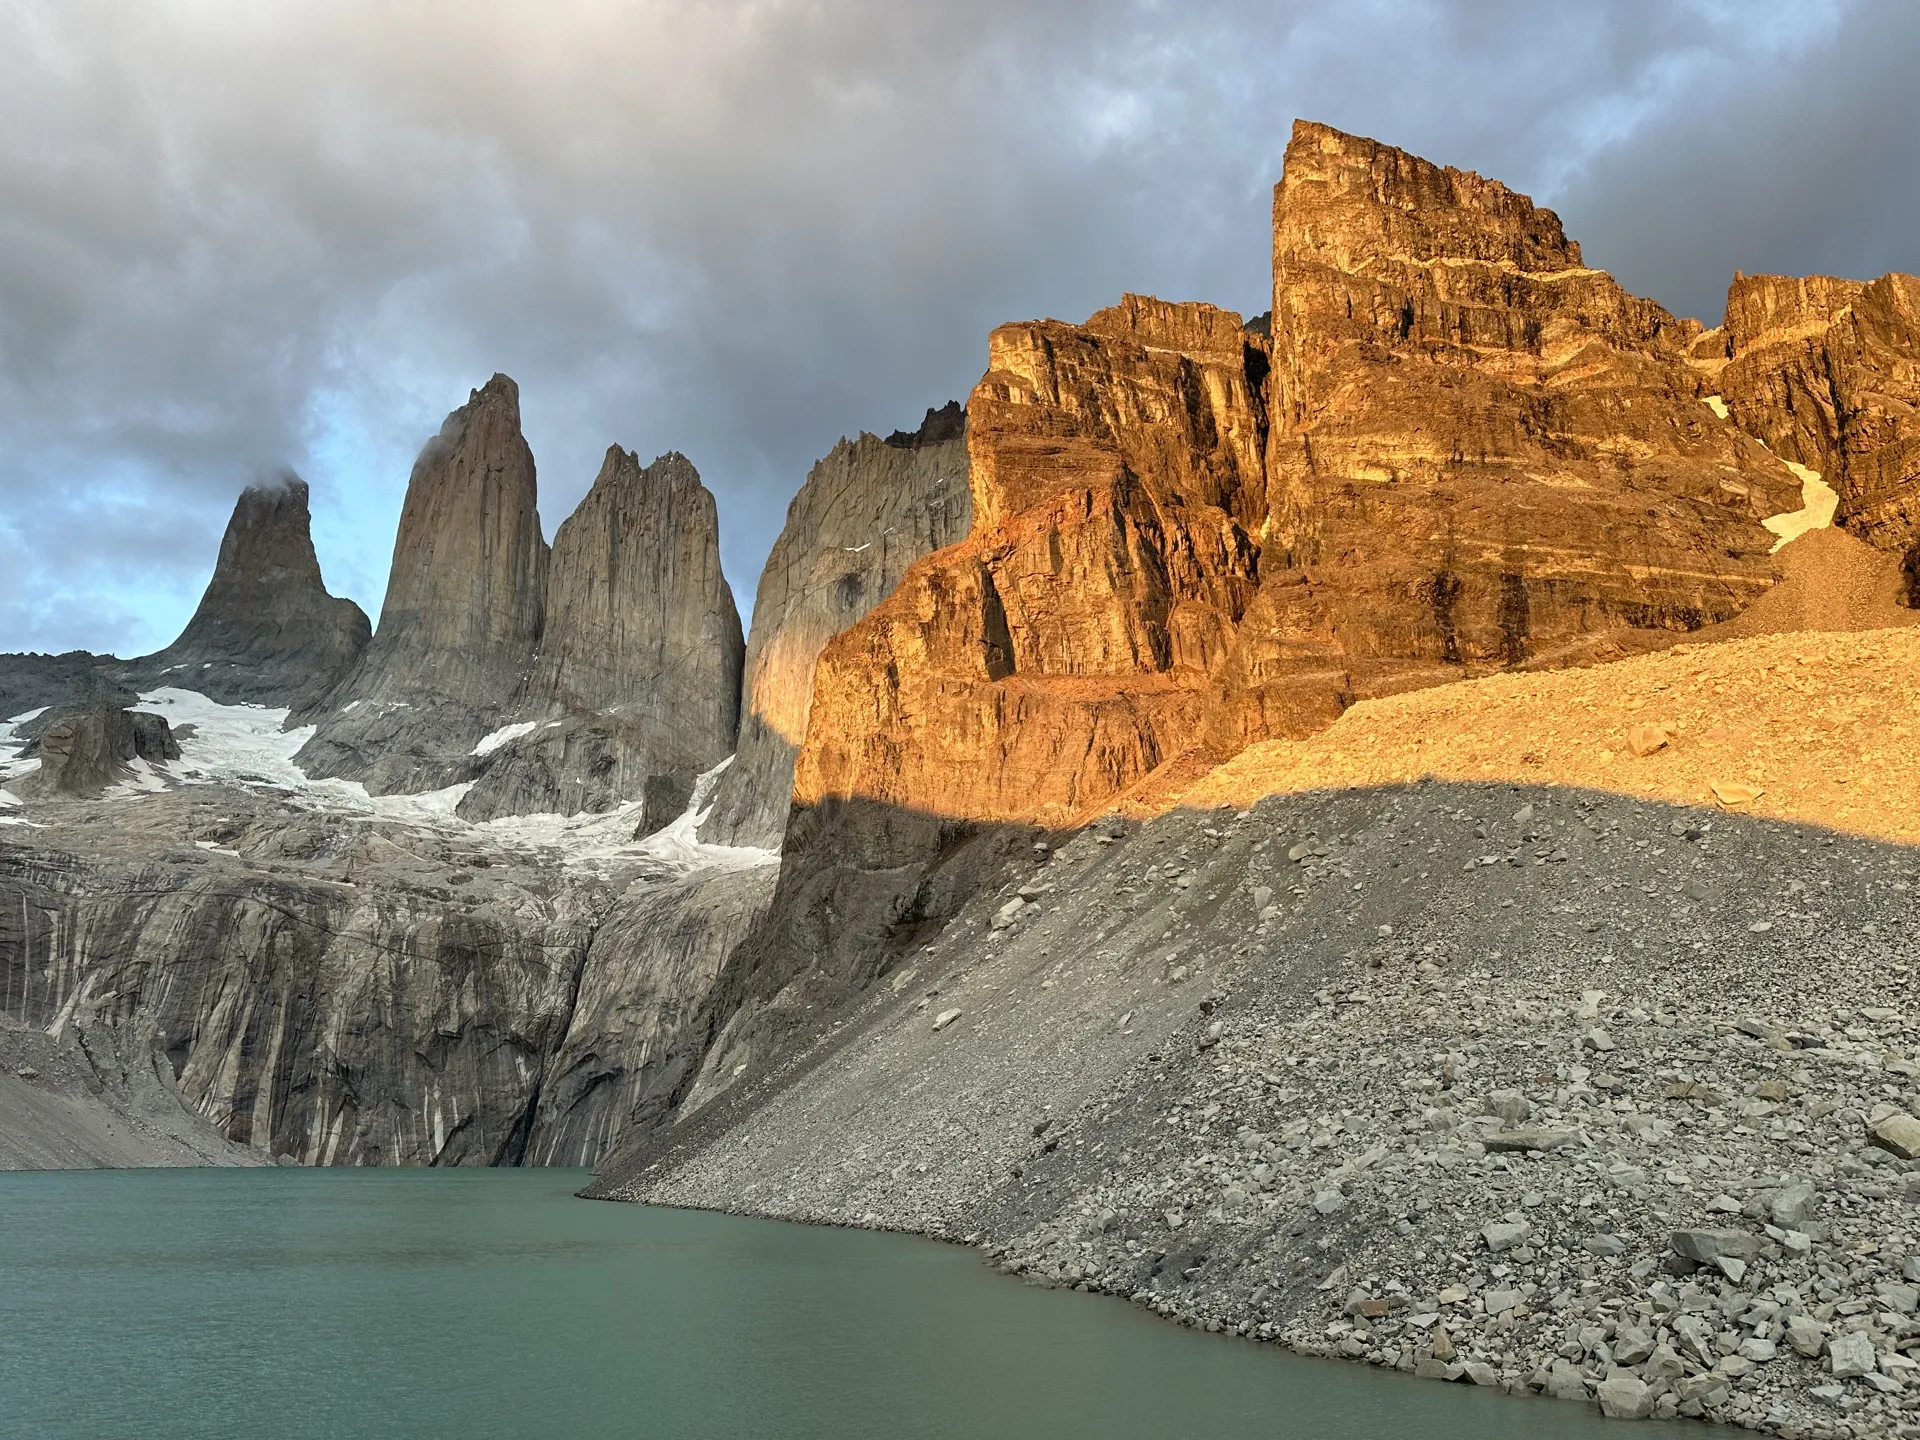
At the top, you’ll reach Mirador Base Torres, one of the most famous viewpoints in Patagonia. On a clear morning, the first sunlight gradually hits the three granite towers and can turn them orange and red. We were lucky enough to get the classic sunrise view, but the weather changes quickly here, so there’s never any guarantee the towers will be visible.
Bring plenty of warm clothing for the viewpoint. You’ll cool down quickly once you stop walking, and the exposed location can make it feel extremely cold when the wind picks up.
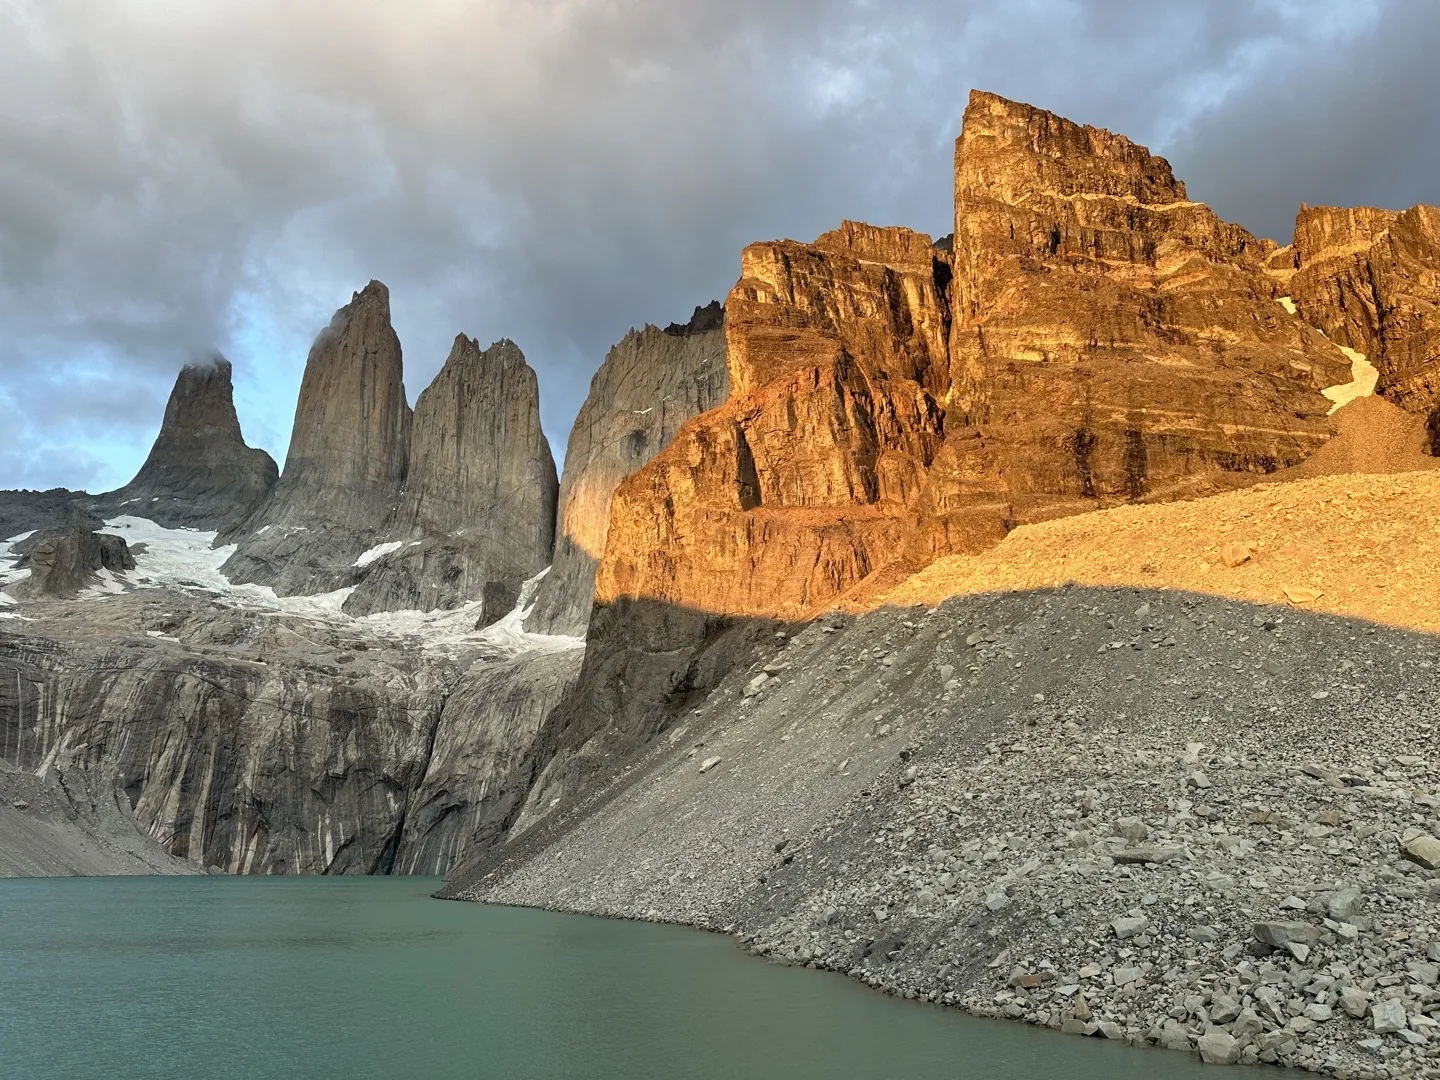
After sunrise, head back down the same trail towards Chileno. On the descent, you’ll finally get to see the forest and river you walked past in complete darkness a few hours earlier. Once you’re back at Chileno, pack up your tent before continuing down towards the Welcome Center.
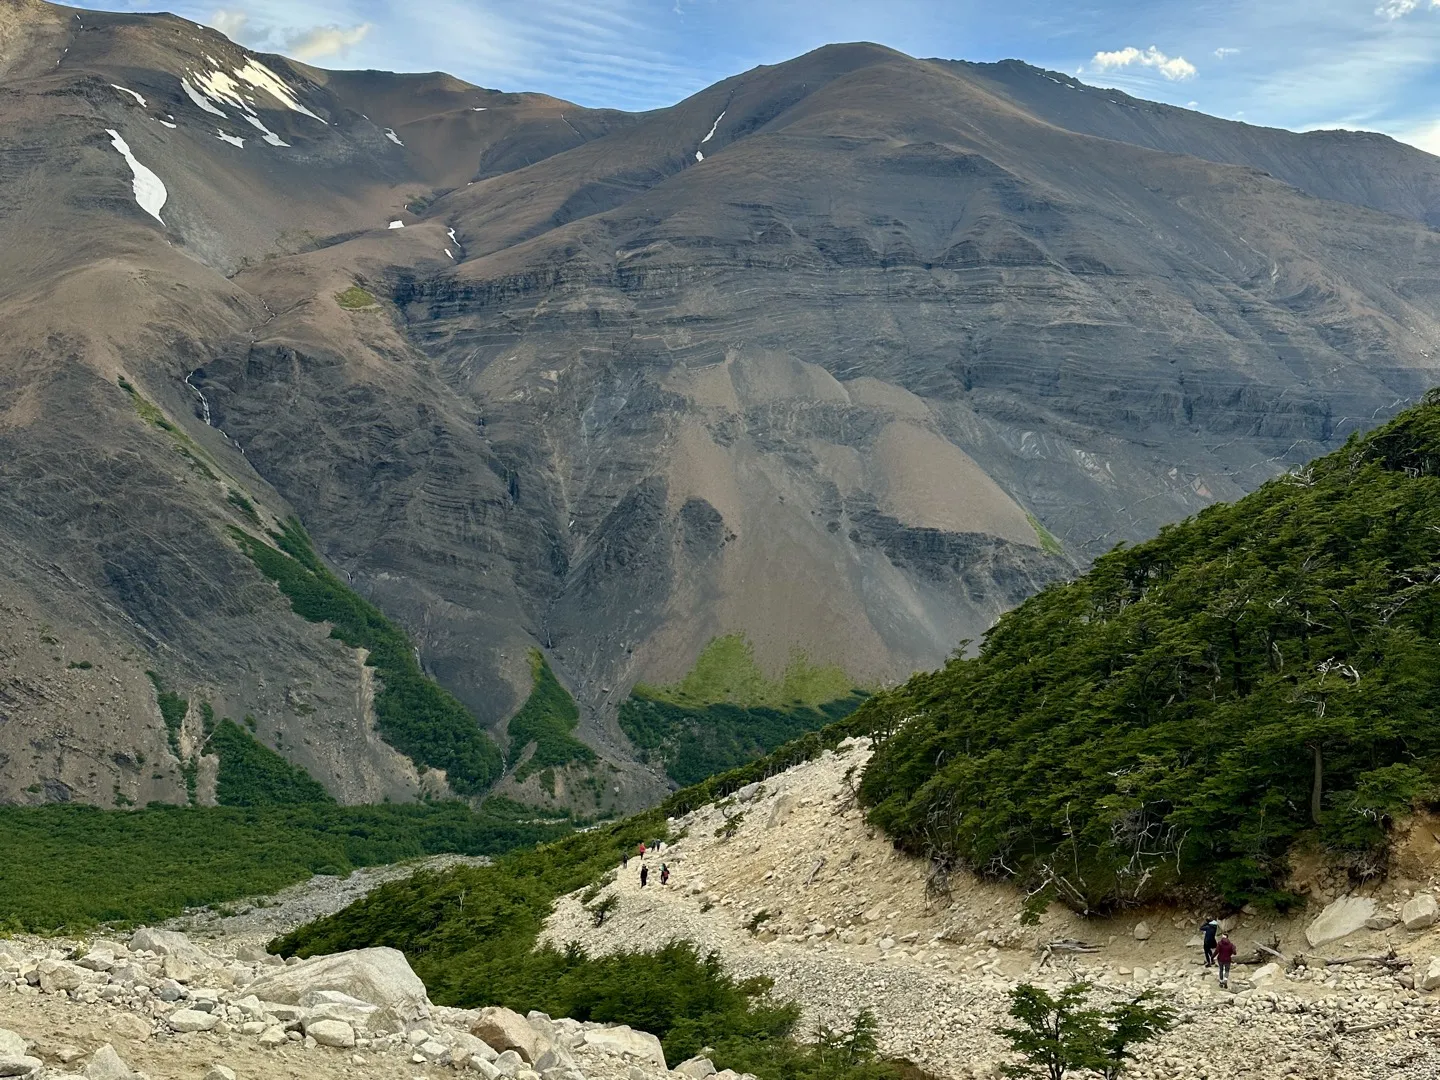
From Chileno, the walk to the Welcome Center is predominantly downhill, although there are still a few short climbs and rolling sections along the way. Eventually, the trail joins a road with a path running parallel to it, taking you all the way to the Welcome Center.
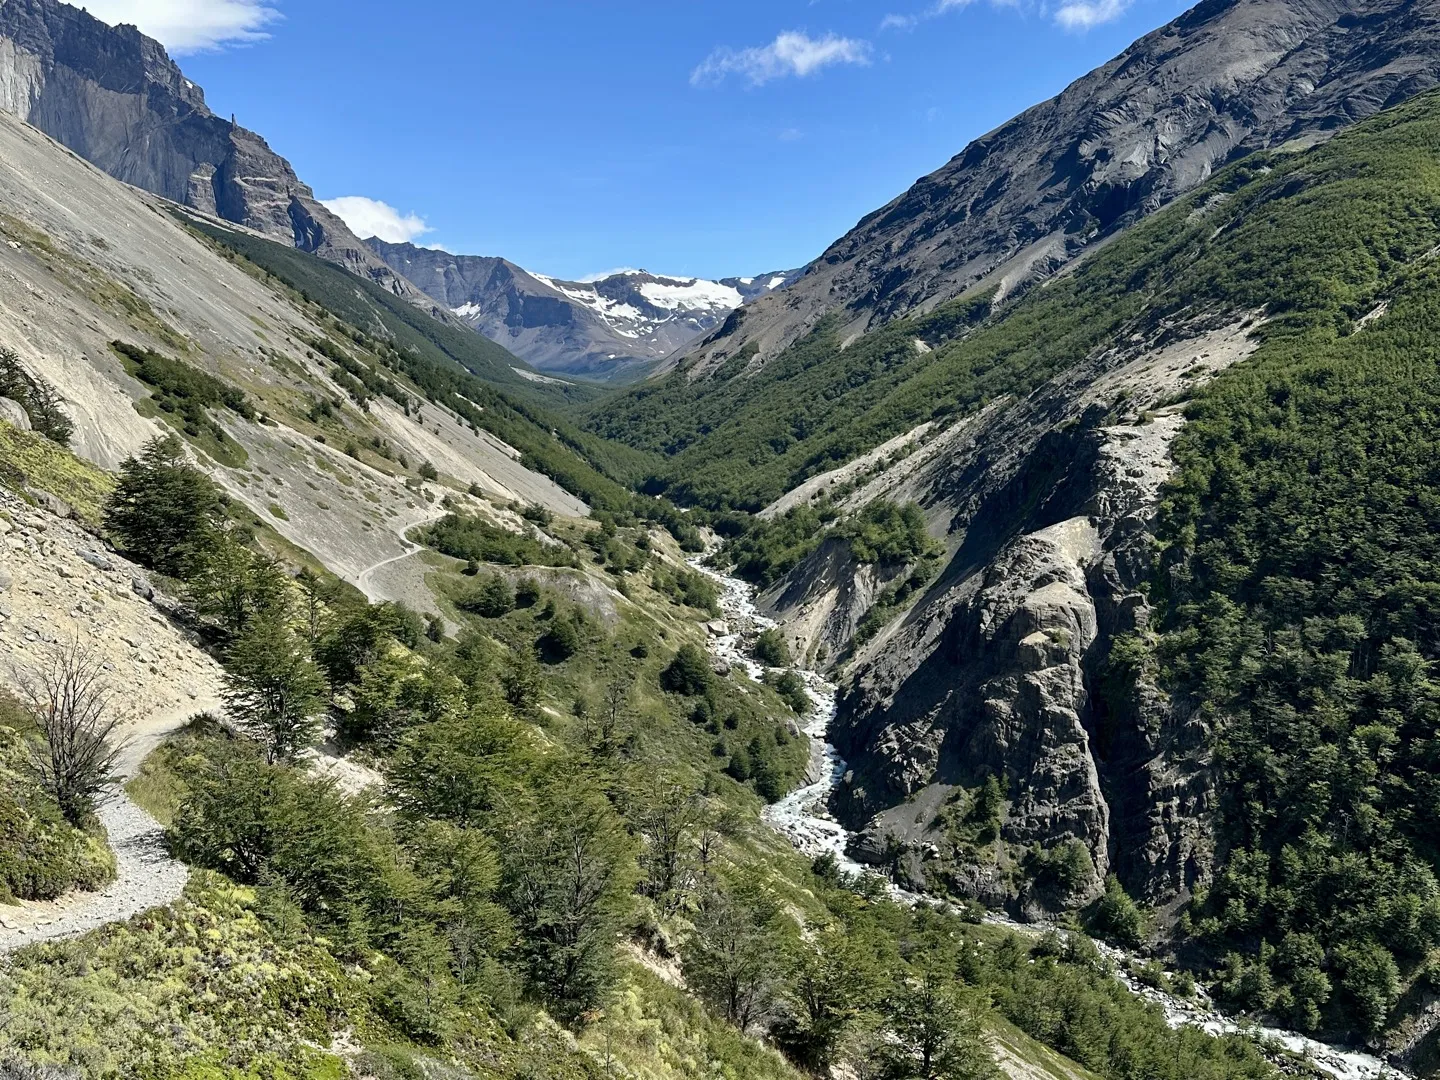
From the Welcome Center, you will need to take a small shuttle to Laguna Amarga, where your return bus to Puerto Natales will be waiting. The shuttle can’t be booked in advance and costs CLP 4,500, which needs to be paid in cash. You should arrive at least 30 minutes before your scheduled departure from Laguna Amarga to allow enough time for the shuttle ride. While you wait, you can sit in the Welcome Center’s cafe section, which has a bathroom and a few tables and chairs.
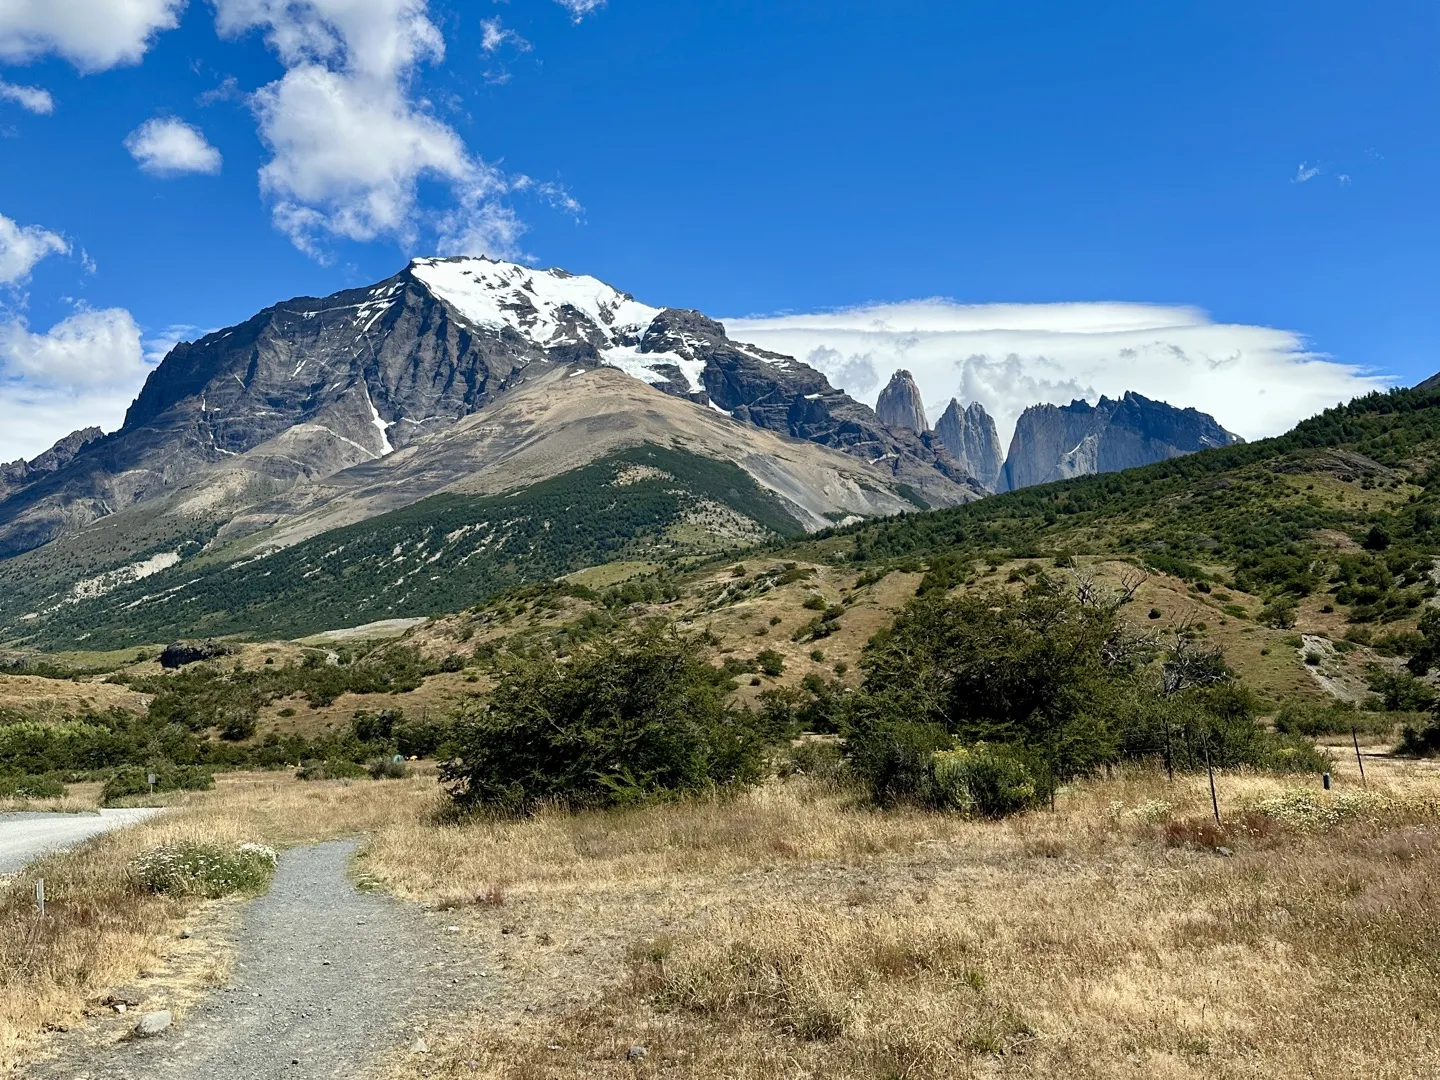
Once you reach Laguna Amarga, all that’s left is to find your main bus back to Puerto Natales. The journey takes around an hour and a half, and after four days on the trail, you’ll probably be ready for a proper meal and a real bed.
The W Trek is not technical and is relatively straightforward, especially if you already have some hiking experience. The hardest part is usually carrying a heavy backpack for four days. If you want to keep your pack lighter, you can book pre-pitched tents and buy meals at each campsite, although the cost adds up quickly.
Doing the W Trek without a guide is much cheaper than booking an organised tour, but there are still quite a few costs to account for. Below are the main expenses for this four-day itinerary.
Conversions are approximate and update daily. Check the live rate before you travel.
Puerto Natales is the main gateway to Torres del Paine, and there are several ways to get there depending on where you are travelling from. The best option will usually depend on where you are coming from.
The best time to do the W Trek depends on the type of experience you want. Patagonia changes a lot throughout the year, with big differences in daylight, crowds and trail conditions, so choosing the right season can make a big difference to your trek.
October & November, March & April
Shoulder seasonDecember–February
Warmest & busiestMay–September
Winter, coldest monthsCompleting the W Trek without a guide is straightforward if you are comfortable hiking and camping independently. The route follows well-established trails between designated campsites, so you do not need technical experience or a guide to navigate it.
Well marked trails
The trails used on this trek are well established and easy to follow. There are signs at the main junctions, but make sure you know which trail you need before leaving each campsite.
Download the map offline
Phone signal can be weak or completely unavailable once you leave Puerto Natales. Download the route on AllTrails or Maps.me before starting so you can still check your location without reception.
Be ready for bad weather
The weather is the biggest thing to take seriously on this trek. Conditions can change quickly in Patagonia, so carry waterproofs and warm layers and be prepared to change your plans if the weather becomes unsafe.
Other hikers are nearby
You will see plenty of other hikers on the main trails and people staying at all three campsites, particularly during summer. The trek never felt particularly isolated when I completed it, so you can always ask someone for help if needed.
For the W Trek without a guide, you’ll need to carry most of your camping gear, food and water with you. Your backpack definitely won’t be the lightest, so packing smart and only bringing what you need is essential.
The exact questions I Googled before leaving Puerto Natales, answered from the trail.
For the hikes to Grey Glacier and Mirador Base Torres, you can leave your main backpack inside your tent at the campsite and take a daypack. For Mirador Británico, most hikers leave their large bag at Italiano and collect it afterwards. This isn’t secure luggage storage, so keep any valuables with you.
No, you can hike the W Trek in either direction. If you decide to go east to west, just make sure your campsite bookings, buses and Lago Pehoé catamaran are booked in the correct order for your itinerary.
Yes, you can book guided W Trek tours or hire a guide, but they are considerably more expensive than organising the trek yourself.
You do not need to carry four days of water with you. There are refill points at the main campsites, and water from streams and rivers along the trail is generally considered safe to drink when collected upstream and away from campsites. Avoid collecting water close to refugios or other areas with lots of people.
No, you can only stay at designated campsites along the W Trek. Wild camping anywhere along the trail is not permitted.
Usually, yes. Many hotels and hostels in Puerto Natales will store your luggage while you complete the W Trek, especially if you stay with them before the trek and are returning afterwards. I would confirm this with your accommodation before arriving.
There is generally no mobile phone signal on the trails, so don’t rely on having reception during the trek. Some campsites do have Wi-Fi or satellite internet, although availability and cost varies. Paine Grande currently offers limited free internet with paid access available for longer use.
Every guide on this site comes from a trip I actually made. Leave your email and I'll send you each new one the day it goes live.
More hikes, routes and practical Chile travel guides to plan the rest of your trip.
The perfect place to start if you are still unsure what to do in Chile. These first-hand guides will help you decide how to spend your time and shape the rest of your trip.
Patagonia · Magallanes