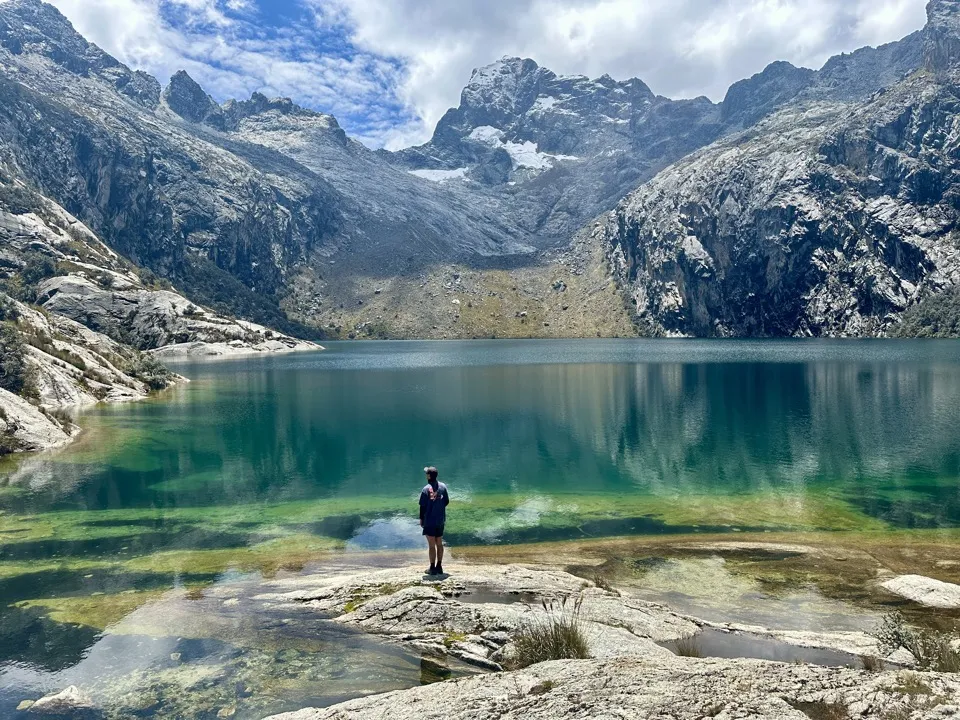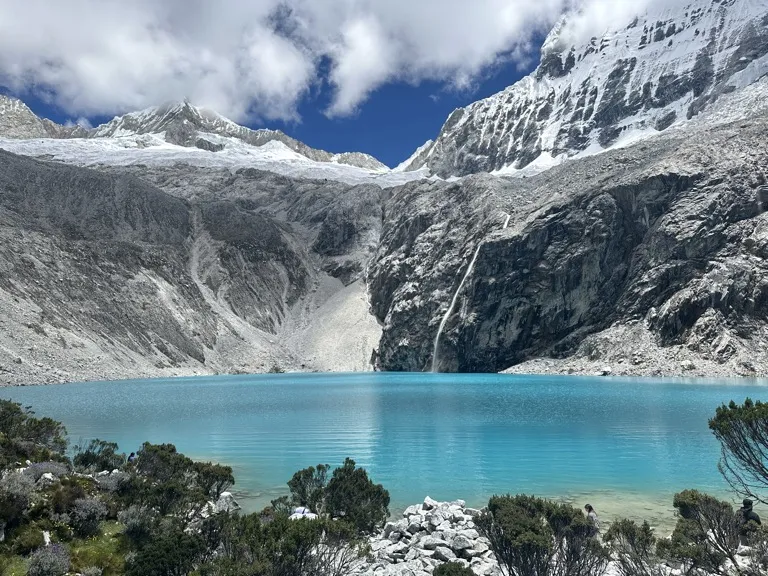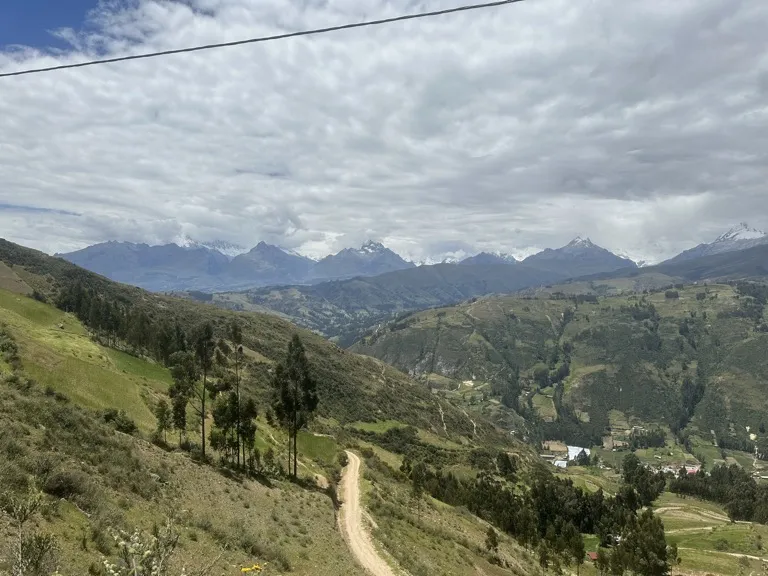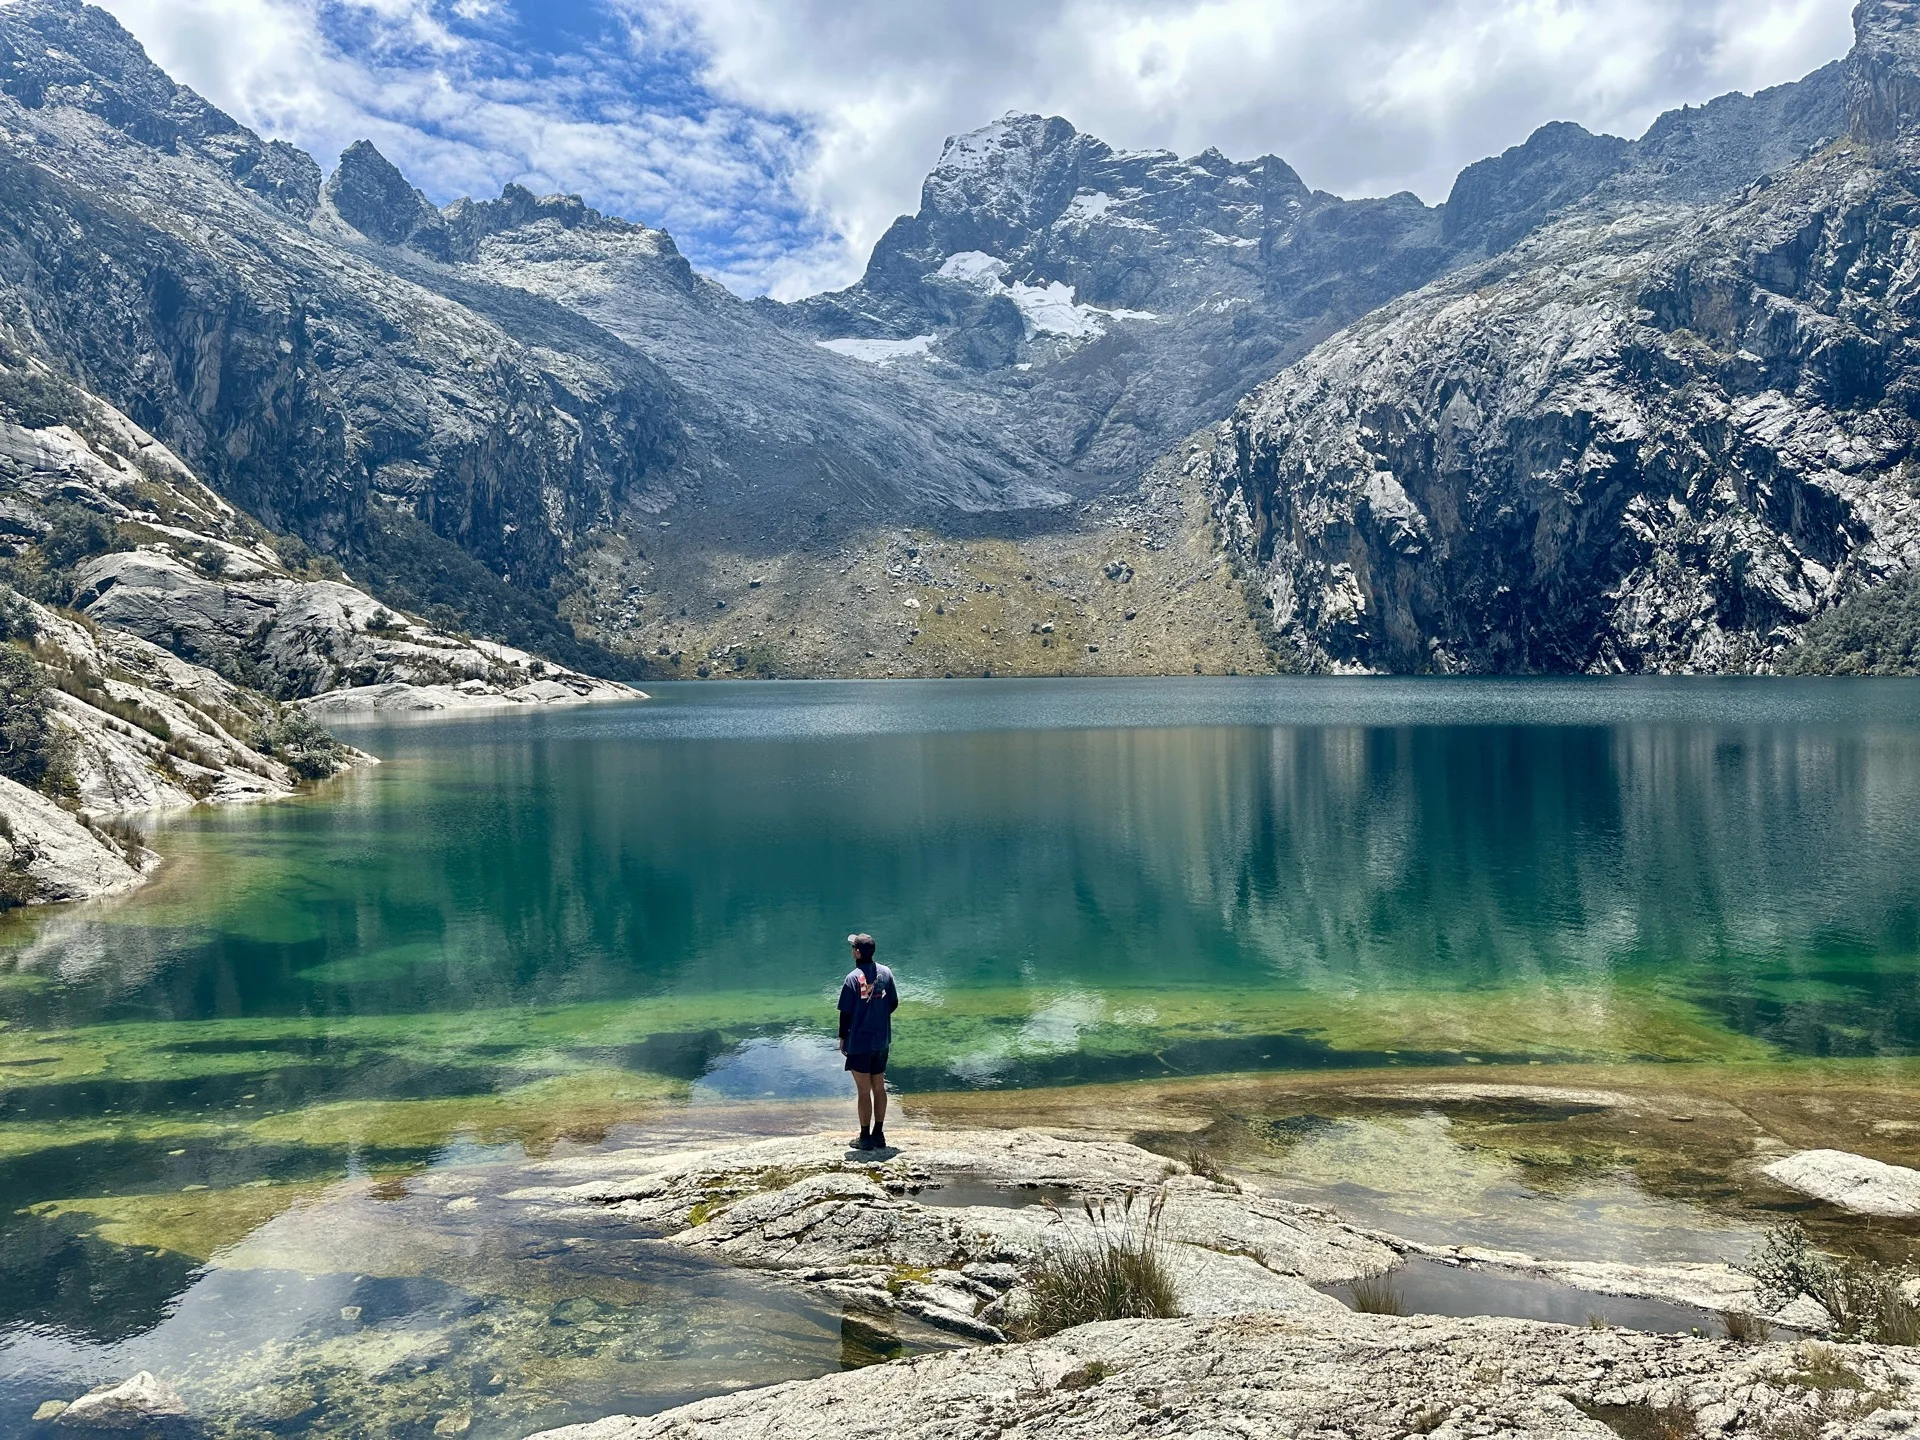
Laguna Churup is one of those places that makes you forget about everything for a second and simply step back and say “wow” as you take it all in. Sitting high in the Cordillera Blanca, the deep blue water of Laguna Churup is surrounded by jagged mountains, making the final view an incredible sight after the not-so-easy climb to get there. Looking back, Laguna Churup is my favourite day hike from Huaraz, not only because of how beautiful the lake is, but because the more technical trail makes getting there feel like an adventure in itself.
The good news is that, even with the more technical terrain, completing the Laguna Churup hike without a guide is manageable as long as you’re comfortable scrambling over a few rocks on the way up. The guide below covers everything you need to know to complete the hike independently, including how to reach the trailhead, which route to take to the lake depending on your climbing confidence, how much I spent and what you need to pack.
Laguna Churup Hiking Map
Some links in this guide are affiliate links. I may earn a small commission if you book through them, at no extra cost to you. I only link to places I have personally stayed and would recommend. Affiliate Disclosure.
The Laguna Churup Hike
Huaraz → Trailhead (Pitec)
The first step to hiking Laguna Churup is to catch a local minibus (‘colectivo’ in Spanish) from Avenida Agustín Gamarra in Huaraz. Here, you’ll be met by a gentleman eagerly looking to sell you a ticket to the Laguna Churup trailhead in Pitec. In 2024, a return ticket to and from the trailhead cost me S/20 and could only be paid for in cash. Once you’ve bought your ticket, head to the other side of the road, where the colectivos are lined up ready to leave. The best thing about hiking Laguna Churup is that you don’t need to wake up pre-dawn like you do for many other hikes in Peru. When I completed the hike, I caught the 8am colectivo and found this to be perfect considering how long the overall hike takes.
Do not throw out your colectivo ticket. You’ll need to give it to the driver for the return trip back to Huaraz.

If you haven’t travelled in a colectivo before, it’s basically a shared minivan that picks up locals and travellers heading in the same direction. They don’t operate on a fixed timetable and usually leave once they are full enough. My journey to Pitec was a pretty social start to the day, with a few other travellers heading to Laguna Churup and locals jumping in and out along the way. The drive takes around 45 minutes, gradually leaving Huaraz behind as the road becomes more winding and climbs higher into the mountains.

Trailhead (Pitec) → Laguna Churup
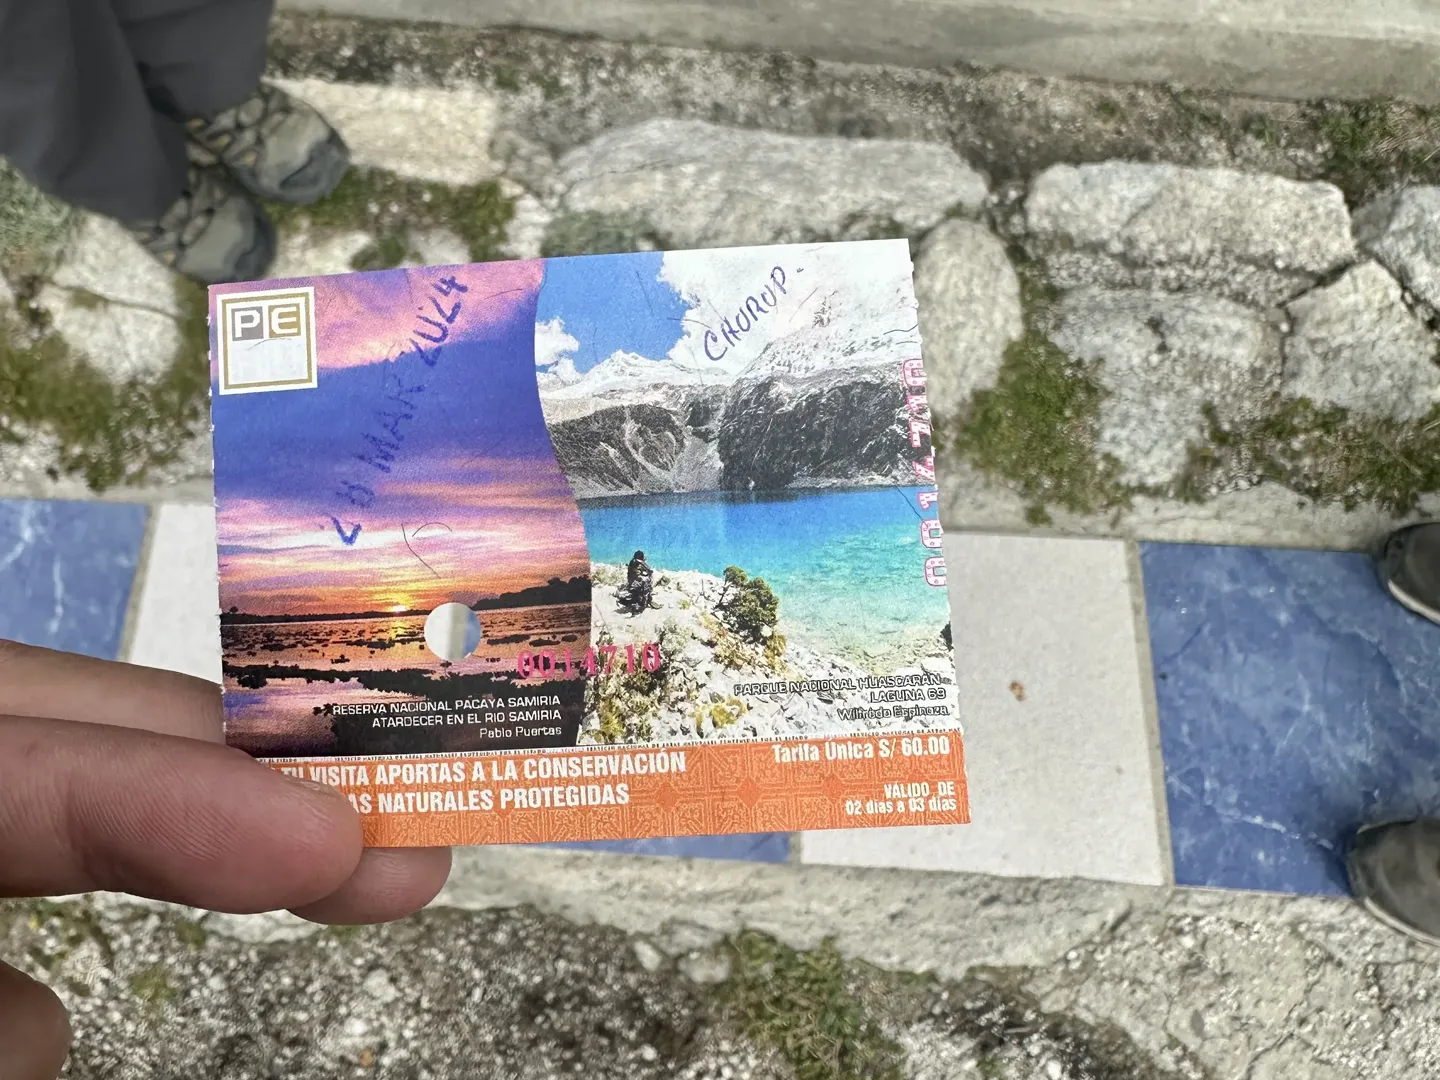
Once you get out of the colectivo, the hike starts climbing almost immediately, giving you a good warm-up and a pretty clear idea of what’s ahead. After the first uphill section, you’ll reach the Huascarán National Park checkpoint, where you’ll need to present your park ticket. If you don’t already have one, you can buy a one-day ticket on the spot for S/30 in cash. Tickets also now appear to be available online and can be bought via the official website. Either way, I’d still bring a small amount of cash in case you aren’t able to present your online ticket.
If you’re planning on doing a few hikes in Huascarán National Park, it may be worth buying a longer pass. A 3-day ticket costs S/60, while a 30-day ticket costs S/150, which can quickly become better value than buying separate day tickets. You’ll need a park ticket for other hikes like Laguna 69 or the Santa Cruz Trek.
Although the Laguna Churup hike is only 6.5 km (4 miles) return and is probably one of the shortest day hikes you’ll do in Peru, don’t underestimate how hard it actually is. As it’s an out-and-back hike, you’ll gain approximately 650 metres (2,130 feet) over just 3.25 km (2 miles) between the Pitec trailhead and Laguna Churup, with much of the climb taking place above 4,000 metres (13,120 feet).
The Laguna Churup trail begins at approximately 3,850 metres (12,630 feet), so do not be surprised if you are short of breath and have a slight headache. Take the climb slowly. If altitude symptoms persist or worsen, do not keep pushing. Take a break and, if needed, descend to a lower altitude.
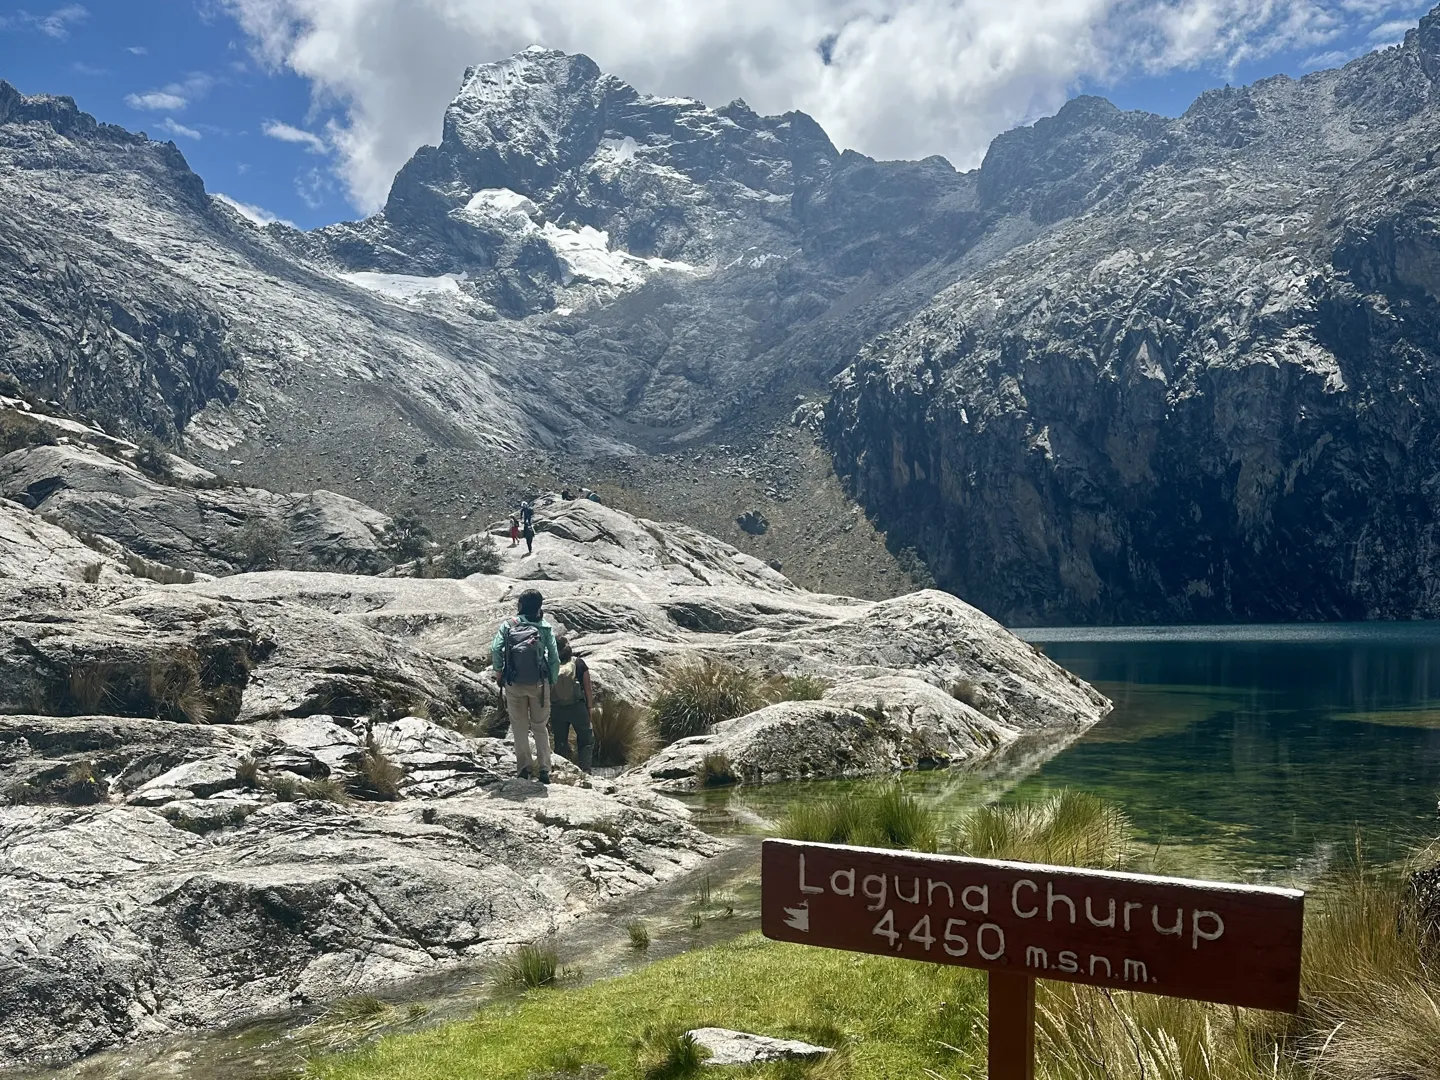
From the checkpoint, the trail becomes increasingly rocky and uneven, with plenty of sections where you’ll be walking over rocks rather than following a smooth dirt path. The route is marked with spray-painted arrows on the rocks, but some sections are harder to follow than others, so keep an eye out for the markings as you climb. I’d also recommend downloading the Laguna Churup route on AllTrails before starting, so you can check your position whenever the trail becomes unclear, whether you have reception or not.
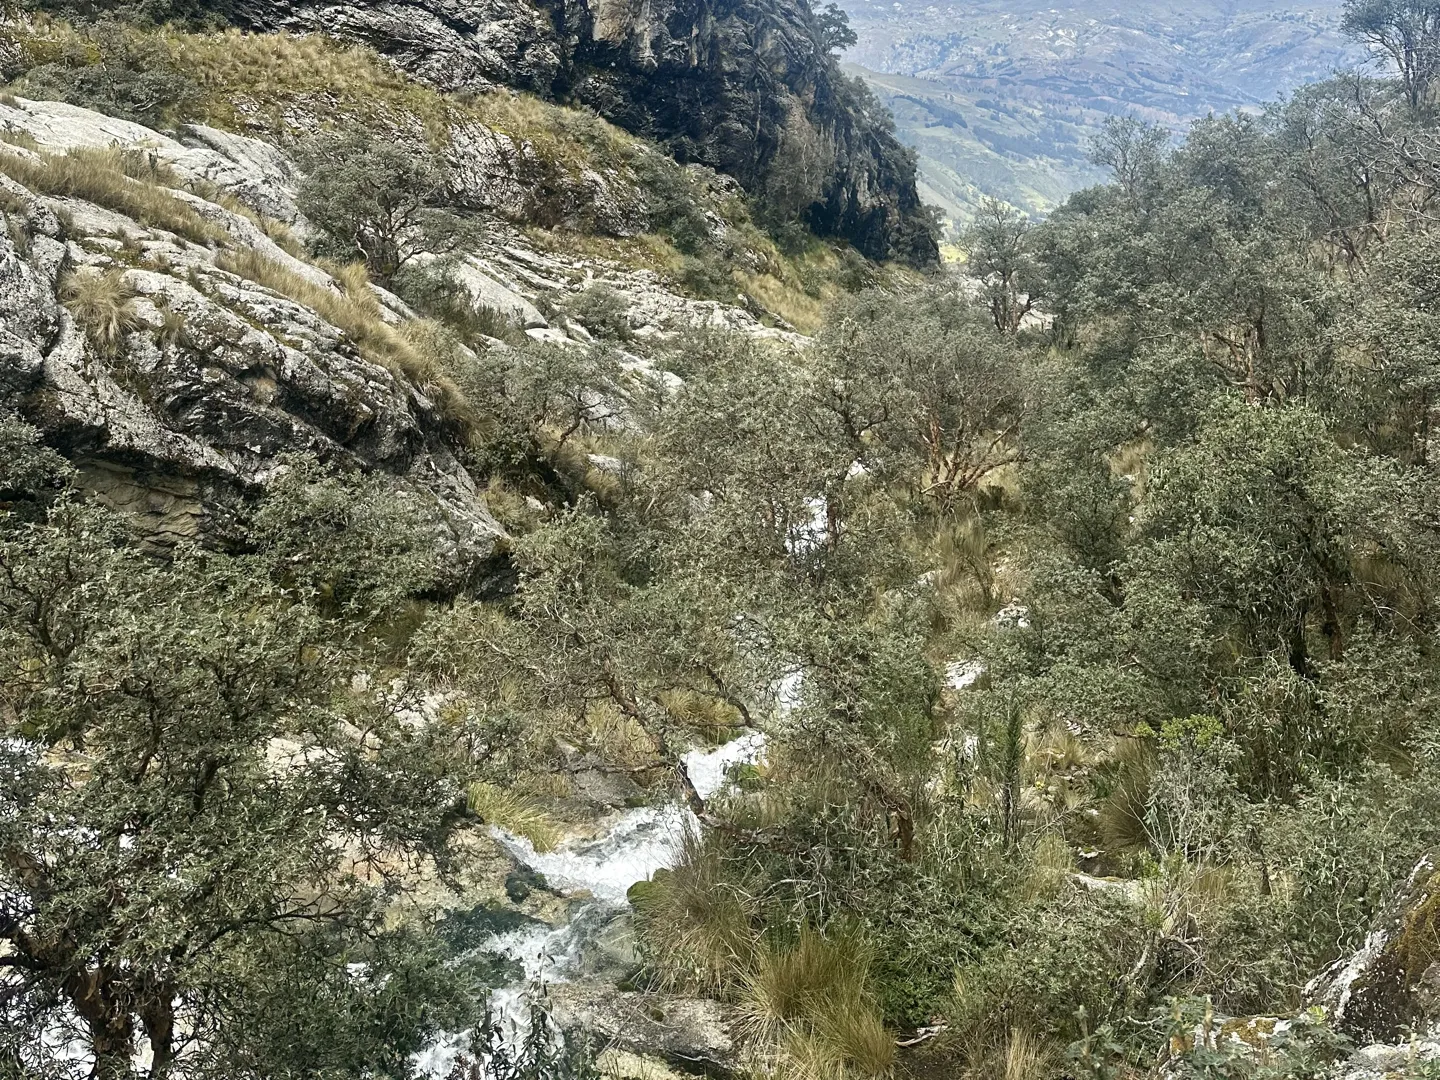
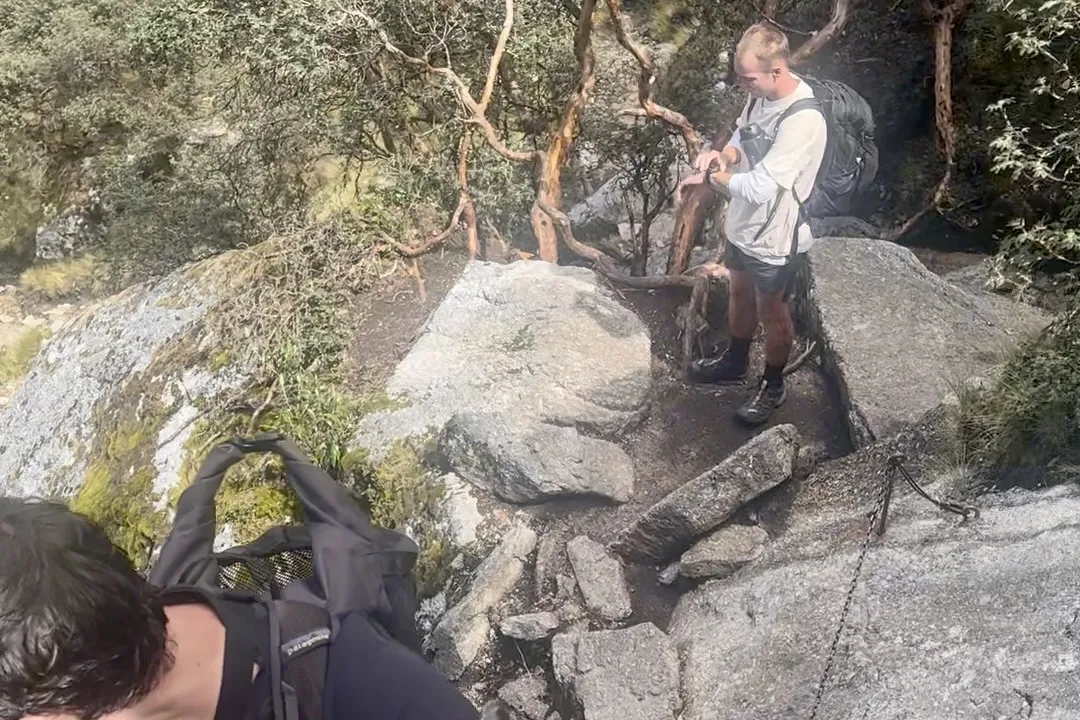
Eventually, you’ll reach a split where you can take one of two routes towards Laguna Churup: the “easier” left side or the “quicker” right side. I opted for the right, which is shorter but much more technical, with steep sections where you’ll need to scramble over rocks and use fixed chains and cables to pull yourself up. The route also becomes harder to follow here, and during the final section I actually went the wrong way a couple of times before realising and doubling back. I’d only recommend the right side if you’re confident scrambling on steep terrain. While the route on the left is considered less technical, don’t mistake it for an easy alternative. You’ll still need to scramble over rocks, and the elevation gain is still very real.
The right side is not suitable for descent. The chain-assisted sections were manageable on the way up, but I wouldn’t recommend attempting them in reverse. The steep rock sections would be considerably harder and more dangerous to climb back down, so if you go up the right side, make sure you descend via the left.
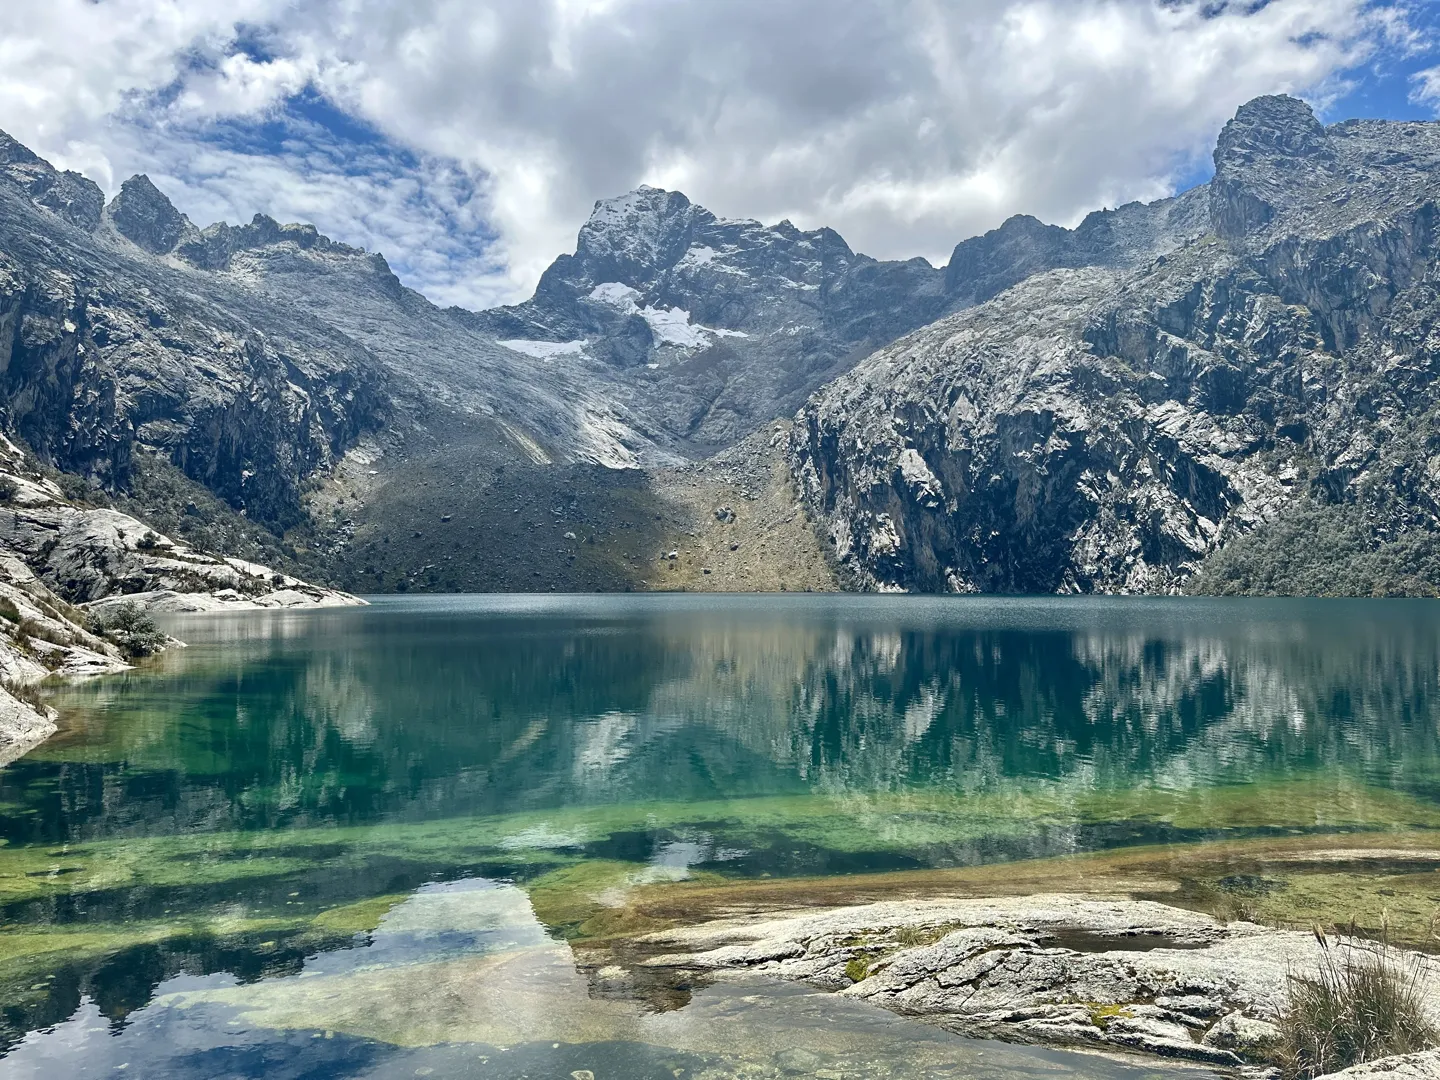
After the struggle of the final climb, you’ll be rewarded with Laguna Churup sitting at roughly 4,450 m (14,600 ft) beneath the surrounding jagged, snow-capped mountains. The deep blue water and steep peaks make it an impressive place to arrive at and quickly make you forget the effort it took to get there. My favourite thing about Laguna Churup was how quiet it felt compared with other popular lakes in the region like Laguna 69. There were only a handful of other hikers around, so I easily found a spot on my own beside the lake, ate lunch and even ended up having a nap before heading back down.
If you’re keen to extend the hike, you can continue past Laguna Churup to Laguna Churupita. The return hike from Laguna Churup is roughly 3.0 km (1.9 miles), with just under 200 m (660 feet) of additional elevation gain. Laguna Churupita sits at around 4,580 metres (15,030 feet) and gives you a different view back over Laguna Churup.
Laguna Churup → Huaraz
Before you leave the colectivo at Pitec, the driver will let you know the return options back to Huaraz, which in my case were 1pm, 2pm or 3pm. You don’t need to choose one in advance, so you can decide on the day depending on how long you want to spend at Laguna Churup. When you do start heading down, give yourself more time than you think you’ll need. The descent is still technical in places, with plenty of steep and uneven rock sections that require a bit of care. I’d strongly recommend taking the left-hand route back down rather than attempting the chain-assisted section in reverse.
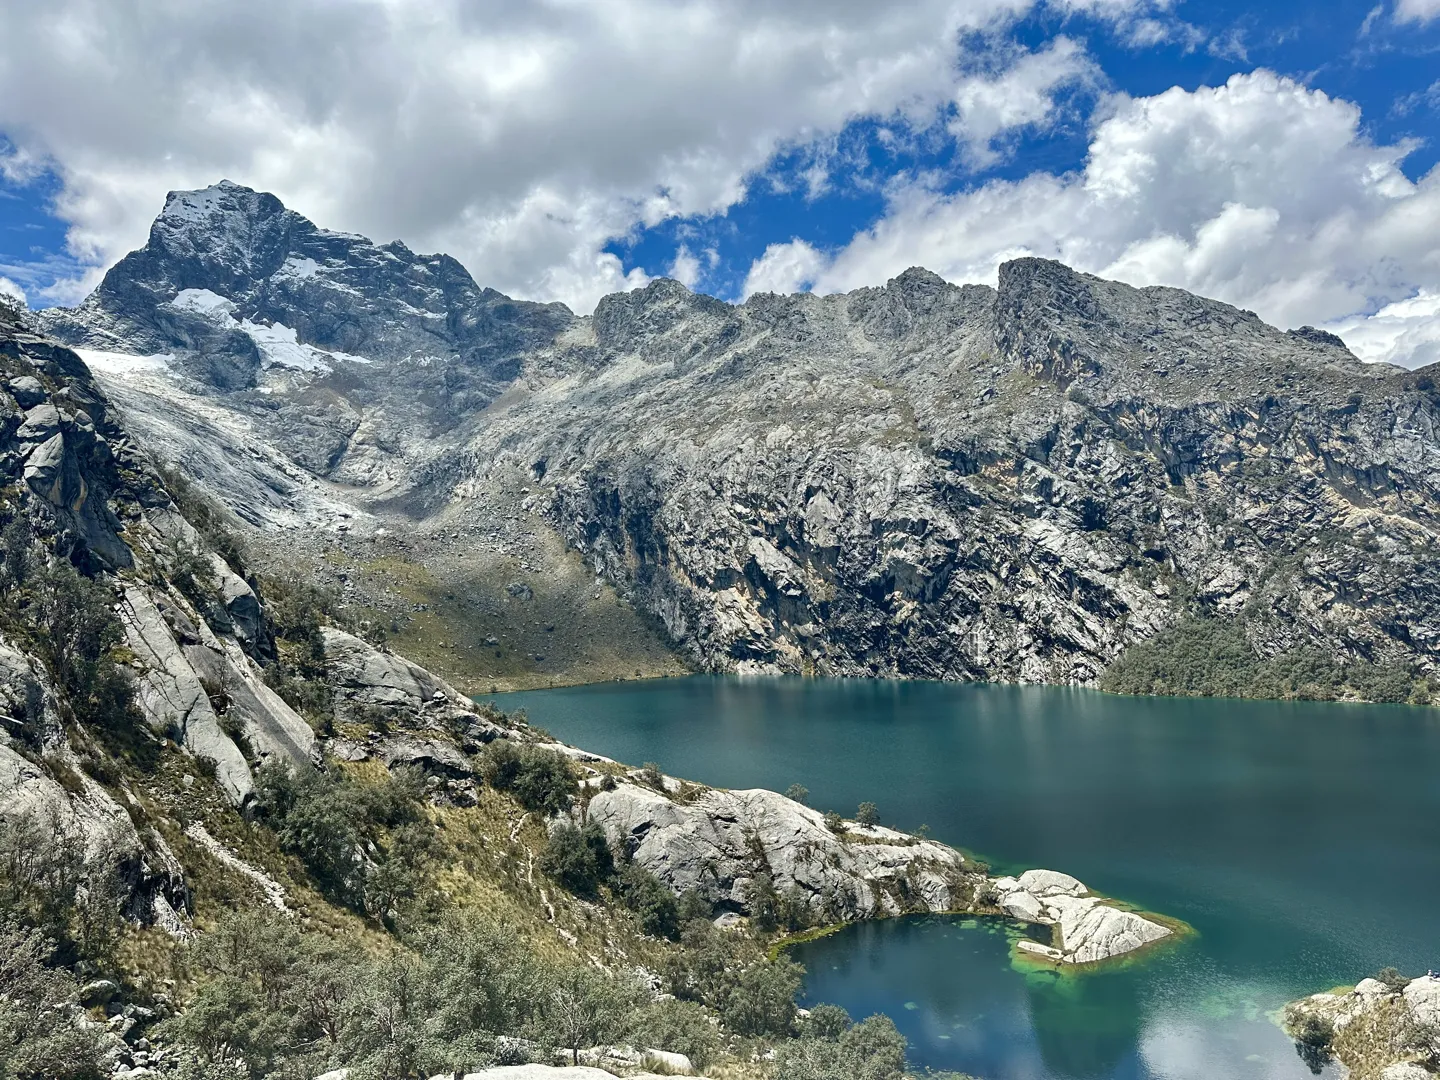
Once you reach the Laguna Churup trailhead in Pitec, head back to the same spot where the colectivo dropped you off that morning. If you get there early or the colectivo is running late, there’s a small stall at the trailhead where you can grab some snacks or drinks, along with a few shaded spots where you can sit while you wait. Colectivos don’t always run exactly to schedule, and mine was slightly delayed, so don’t stress if yours is too. Once it arrived, it was an easy ride back to Huaraz, finishing at the same spot on Avenida Agustín Gamarra where the colectivo left from that morning.
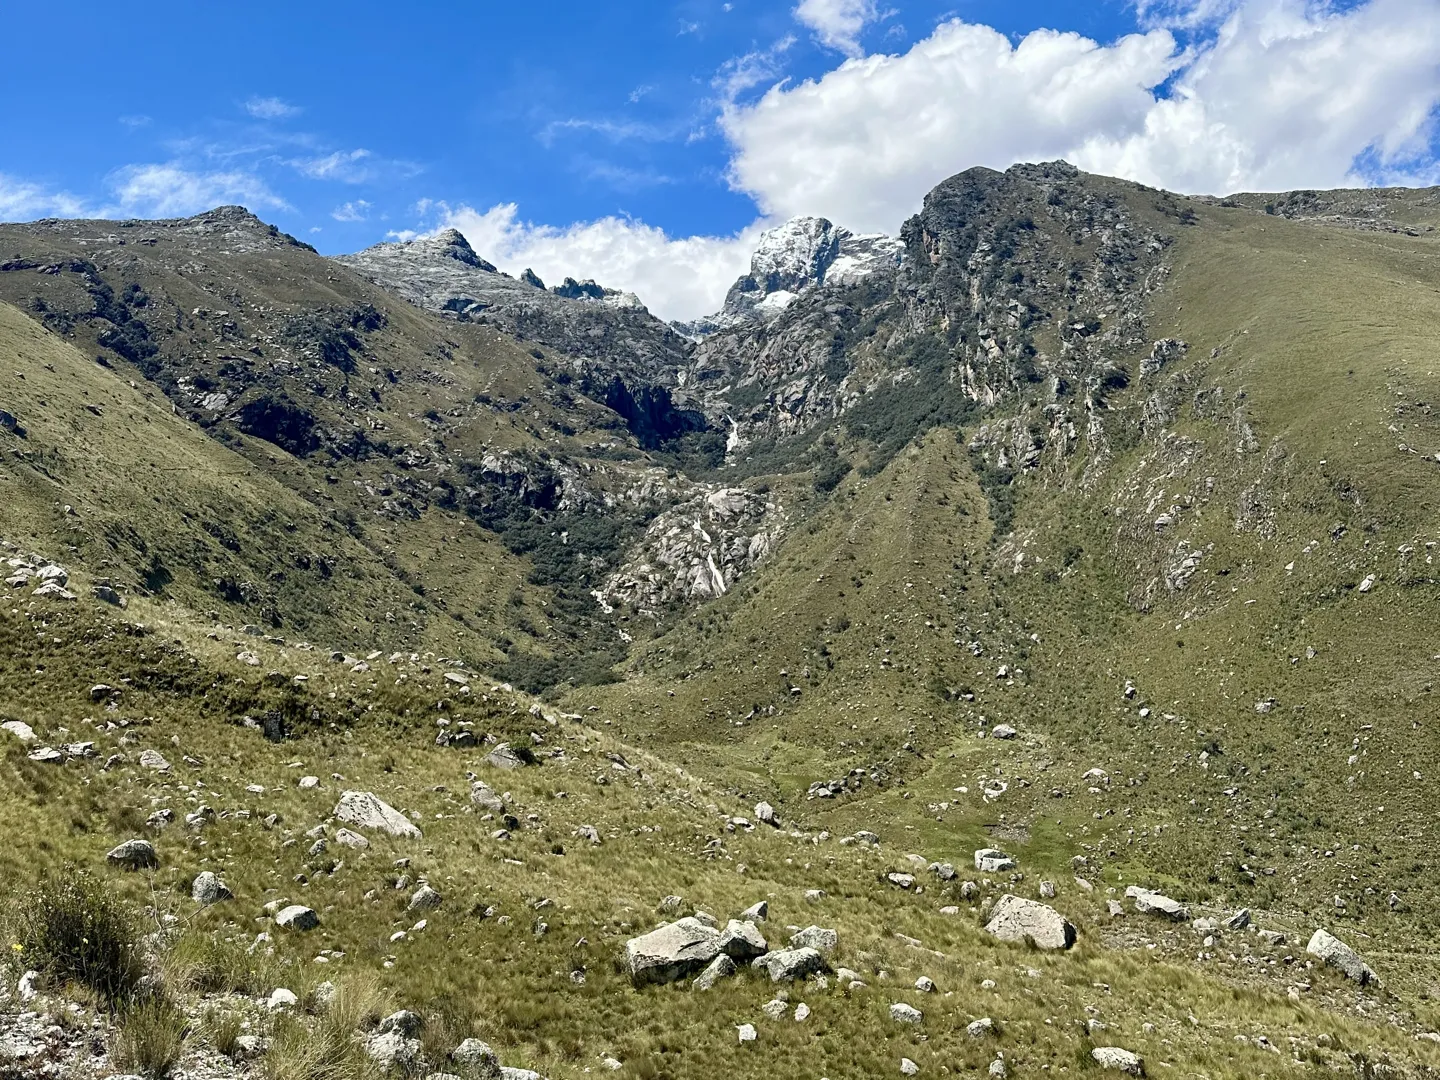
Overall, Laguna Churup is still my favourite day trip from Huaraz and I couldn’t recommend it enough. Being able to have lunch and a nap in such beautiful natural surroundings, without the crowds you’d normally expect, is something I’m yet to replicate (but still striving to find!). The trail makes you work for it, but getting through the rocky and technical sections is part of what makes Laguna Churup so isolated and wild.
Back from Laguna Churup? Sleep Here.





Although the Laguna Churup hike is only 6.5 km (4 miles) return, it is much more difficult than you might expect due to the rocky terrain, steep elevation gain and altitude. You’ll gain approximately 650 metres (2,130 feet) over just 3.25 km (2 miles) to reach Laguna Churup, with much of the climb taking place above 4,000 metres (13,120 feet). If you’re planning on hiking Laguna Churup, get ready for a real adventure.
The Laguna Churup hike is one of the more affordable day trips you can do from Huaraz. Below is a complete breakdown of what I spent.
-
S/ 20 $5Colectivo from Huaraz to PitecReturn ticket
-
S/ 30 $8Huascarán National Park entrance ticketOne-day ticket for international visitors
-
S/ 15 $4Snacks and water for the day
Conversions are approximate and update daily. Check the live rate before you travel.
Huaraz is tucked away in the mountains of northern Peru, so reaching it takes a little more effort than travelling between the country’s main tourist cities. Most travellers arrive from Lima, either by taking a short flight followed by a taxi into the city or an eight-to-nine-hour bus journey. Both options are straightforward, with your choice mostly coming down to whether you would rather save time or money.

The best time to do the Laguna Churup hike is usually May or September. These shoulder-season months give you a good chance of clear mountain views while avoiding the busiest part of the dry season. While you can complete the hike throughout the year, the weather becomes less predictable outside the main trekking months.
May & September
Shoulder season- Best balance of generally clear weather and fewer people on the trail.
- May is greener after the wet season, while the weather is beginning to settle.
- September usually still offers reliable hiking conditions, while peak-season crowds are beginning to ease.
- You may still experience some cloud or rain, particularly later in the day.
- Expect cold conditions beside Laguna Churup, even when the walk up is sunny and clear.
June, July & August
Dry season, most popular months- Most reliable months for clear skies and views of the surrounding snow-capped peaks.
- Lowest chance of rain affecting the trail or hiding the mountains around Laguna Churup.
- The hike is busiest during these months, with more tour groups leaving Huaraz each morning.
- Early mornings and shaded sections of the trail can be extremely cold.
- The strong sun at altitude can feel surprisingly intense once the day warms up.
October to April
Wet season- Weather becomes increasingly unpredictable, with more rain, cloud and reduced visibility.
- The trail can become muddy and slippery after sustained rain.
- Clouds may cover the snow-capped peaks and completely change the view waiting for you at the lake.
- One positive is that there will be fewer people on the trail.
Altitude sickness is one of the main things to take seriously when doing the Laguna Churup hike. Huaraz already sits at around 3,052 metres (10,013 feet), while Laguna Churup reaches approximately 4,450 metres (14,600 feet), so you will climb a long way in a single morning. The altitude can affect you regardless of how fit you are, making proper acclimatisation far more important than trying to train your way through it.
Acclimatise in Huaraz before the hike
Try to spend at least two full nights in Huaraz before visiting Laguna Churup, particularly if you have arrived directly from Lima or somewhere else close to sea level. I would avoid booking the hike for your first morning in the city and instead give yourself time to rest and see how your body responds to the altitude.
Complete Laguna Wilcacocha as a warm-up
Laguna Wilcacocha is a good warm-up hike to complete before taking on Laguna Churup. It is shorter and does not climb as high, giving you a chance to stretch your legs and see how your body handles hiking at altitude.
Pick up coca leaves and understand your medication
Coca leaves are cheap, easy to find and commonly used throughout Peru by locals and travellers to relieve altitude symptoms. If you carry altitude medication, make sure you know how it works. Acetazolamide is generally taken before ascending to help prevent symptoms, while dexamethasone is usually taken after symptoms develop.
Take the final climb slowly
The final ascent begins above 4,300 metres (14,110 feet), so find a steady pace and do not worry about keeping up with anyone around you. At this stage, you may have a slight headache and feel out of breath, which is not unusual at this altitude. However, continue to monitor your symptoms in case they worsen.
Hiking Laguna Churup without a guide is definitely manageable, but I wouldn’t describe it as an easy trail to complete independently. The altitude, rocky terrain and more technical sections all need to be taken into account, especially if you choose the right-hand route for the final climb. Use the points below to help you stay safe on the trail without a guide.
Download an offline map
Phone signal can be patchy on the hike, meaning you may not be able to load anything when you need it. Before leaving Huaraz, make sure you download the trail offline using AllTrails or Maps.me so you can check your route if needed.
Trail can be hard to follow
Most of the trail is relatively easy to follow, but it becomes less obvious in places, especially on the more technical right-hand route. I actually went the wrong way a couple of times near the top and had to double back, so keep an eye out for the painted trail markings.
High altitude
Laguna Churup sits at around 4,450 m (14,600 ft), so altitude is something you need to take seriously. Give yourself time to acclimatise in Huaraz beforehand and take the climb slowly, particularly if you start feeling any symptoms of altitude sickness.
Fewer hikers around
One of my favourite things about Laguna Churup was how quiet the trail was, but that also means there may not always be another hiker nearby if something goes wrong. You’ll normally see people around the lake and park rangers at the checkpoint, but the middle section of the trail can feel much more isolated.
You do not need any specialist equipment for the Laguna Churup hike, but the altitude and changing mountain weather mean it is worth packing properly. Below is everything I recommend taking with you.